-
Click
 Window > Open Perspective > Other... > Java
to change to the Java perspective.
Window > Open Perspective > Other... > Java
to change to the Java perspective.
-
Click
File > New > Other... > Java Project
to open the New Java Project wizard.
-
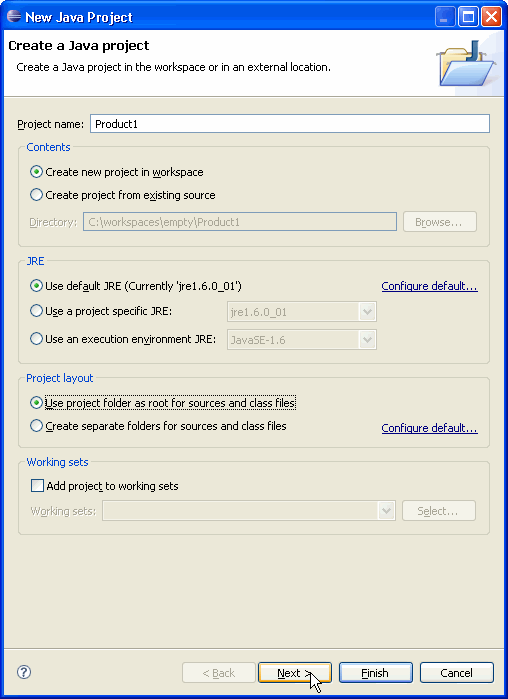
Type "Product1" in the Project name field. Click Next.
-
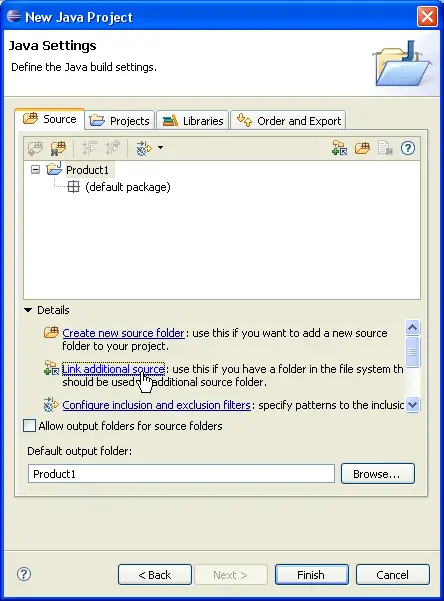
On the next page, Select "Product1" source folder.
Click Link additional source link in Details pane or button  in view bar.
-
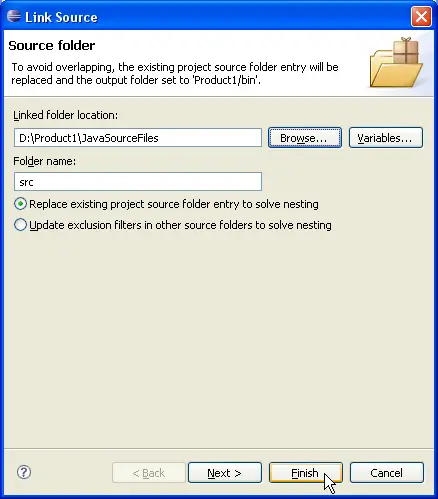
In Link Source click Browse.... and choose the
D:\Product1\JavaSourceFiles
directory.
Type "src" in the Folder name field.
-
Click Finish to validate and close the dialog.
-
Again, Select "Product1" and click Link additional source link in Details pane or button in view bar.

-
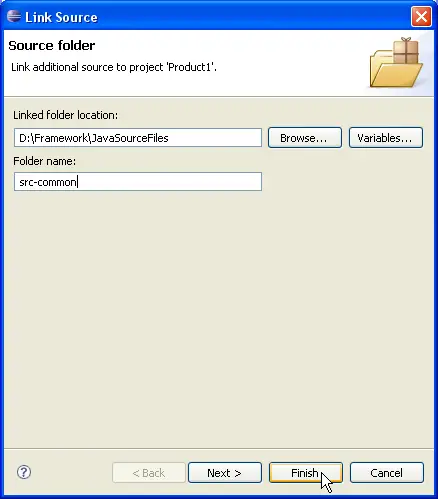
In Link Source click Browse.... and choose the
D:\Framework\JavaSourceFiles
directory.
Type "src-common" in the Folder name field.
-
Click Finish to validate and close the dialog.
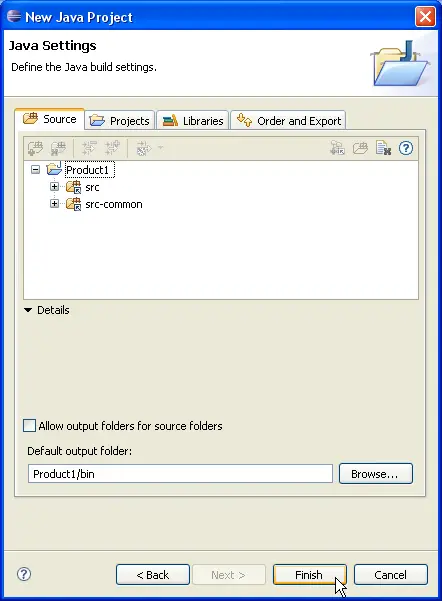
Your project source setup now looks as follows:
-
Click Finish.
-
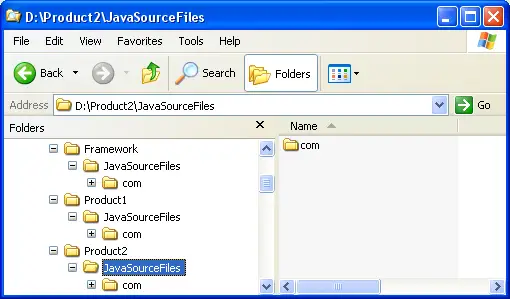
Create project "Product2" repeating steps 2 to 5 choosing
D:\Product2\JavaSourceFiles
directory for source folder instead.
-
Click on Finish to create the project immediately.
-
Now, we'll see how to add a linked source folder when project is already created in workspace...
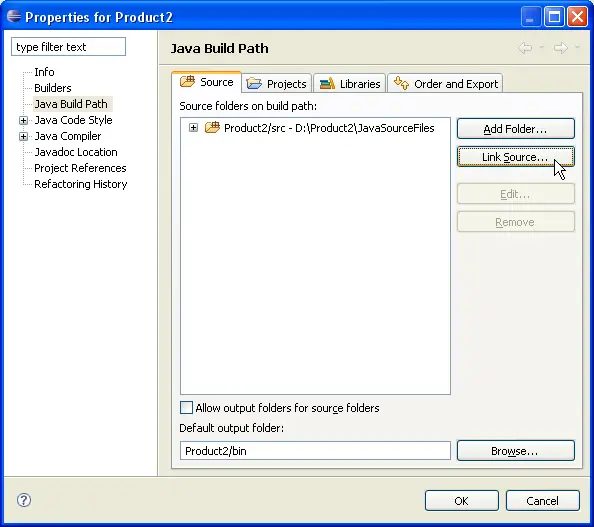
Edit project "Product2" properties and select Java Builder Path page.
On Source tab, click Link Source....
-
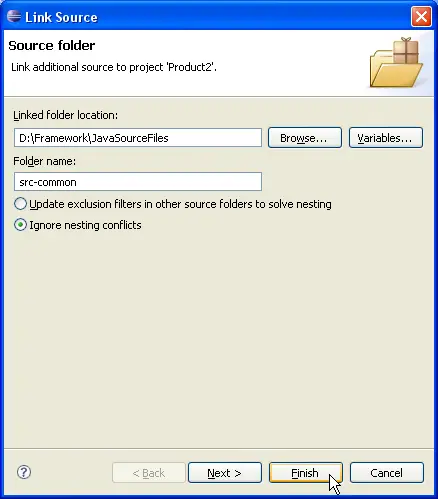
In Link Source click Browse.... and choose the
D:\Framework\JavaSourceFiles
directory.
Type "src-common" in the Folder name field.
-
Click Finish to validate and close the dialog.
Click OK to apply project "Product2" properties changes.
-
You now have two Java projects which respectively contain the sources of "Product1" and "Product2"
and which are using the sources of "Framework".
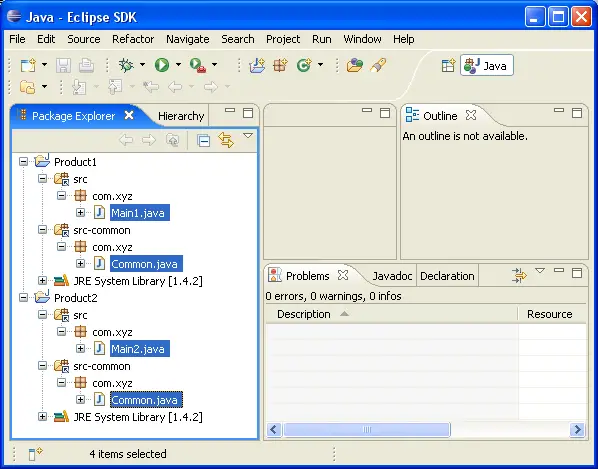
Files in "src-common" are shared. So editing "Common.java" in "Product1"
will modify "Common.java" in "Product2". However they are compiled in the context of their
respective projects. Two "Common.class" files will be generated; one for each project. If the two projects have
different compiler options, then different errors could be reported on each "Common.java" file.