Preparing Eclipse
In this section, you will verify that Eclipse is properly set up for Java development.
The following is assumed:
-
You are starting with a new Eclipse installation with default settings.
-
You are familiar with the basic Eclipse workbench mechanisms, such as views and perspectives.
If you're not familiar with the basic workbench mechanisms, please see the
Getting Started chapter of the Workbench User Guide.
Verifying JRE installation and classpath variables
-
If you still see the Eclipse Welcome page, click the arrow icon to begin using Eclipse.
-
Select the menu item
 Window > Preferences...
to open the workbench preferences.
Window > Preferences...
to open the workbench preferences.
-
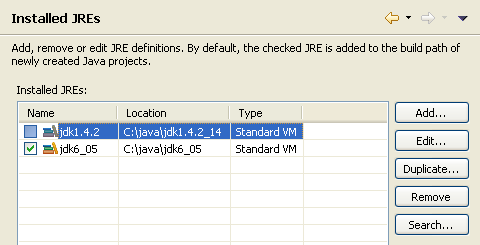
Select the
Java > Installed JREs
preference page to display the installed Java Runtime Environments. Confirm
that a JRE has been detected. By default, the JRE used to run the workbench will be used to build and run
Java programs. It should appear with a checkmark in the list of installed JREs. We recommend that you
use a Java SDK instead of a JRE. An SDK is designed for development and contains the source code for the
Java library, easing debugging. Additional SDKs can be added by searching the hard drive for installed
SDKs. To do so, simply click the Search... button and specify a root folder for the search.
If you work with code that does not yet use generics (as we do in this tutorial), we recommend
that you install a Java SDK 1.4 as well, but leave the most recent version checked as default.
-
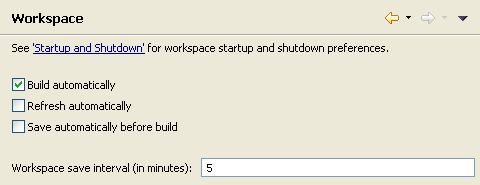
Select the
General > Workspace
preference page. Confirm that the Build automatically option is checked.
-
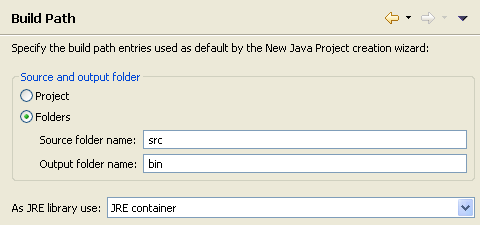
Select the
Java > Build Path
preference page. Confirm that Source and output folder is set to Folders.
-
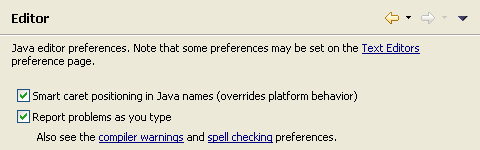
Select the
Java > Editor
preference page.
Confirm that option Report problems as you type is checked.
-
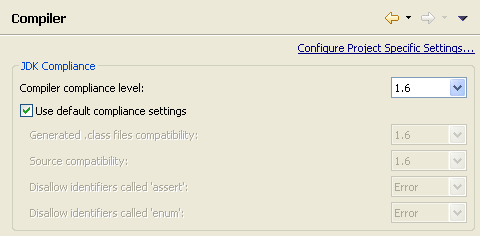
Select the
Java > Compiler
preference page.
Confirm that option Compiler compliance level matches your default JRE version (usually 1.6).
-
Click on OK to save the preferences.

Java projects
Classpath variables
Build classpath

Working with JREs

Installed JREs Preferences
Java Editor Preferences


