Follow Techotopia on Twitter

On-line Guides
All Guides
eBook Store
iOS / Android
Linux for Beginners
Office Productivity
Linux Installation
Linux Security
Linux Utilities
Linux Virtualization
Linux Kernel
System/Network Admin
Programming
Scripting Languages
Development Tools
Web Development
GUI Toolkits/Desktop
Databases
Mail Systems
openSolaris
Eclipse Documentation
Techotopia.com
Virtuatopia.com
Answertopia.com

How To Guides
Virtualization
General System Admin
Linux Security
Linux Filesystems
Web Servers
Graphics & Desktop
PC Hardware
Windows
Problem Solutions
Privacy Policy


SUSE Linux Enterprise Desktop (SLED 10) KDE Guide
Previous Page Home Next Page

17.2 Starting GIMP

Start GIMP from the main menu. Alternatively, enter gimp & in a command line.

17.2.1 Initial Configuration

When starting GIMP for the first time, a configuration wizard opens for preparatory configuration. The default settings are acceptable for most purposes. Press Continue in each dialog unless you are familiar with the settings and prefer another setup.

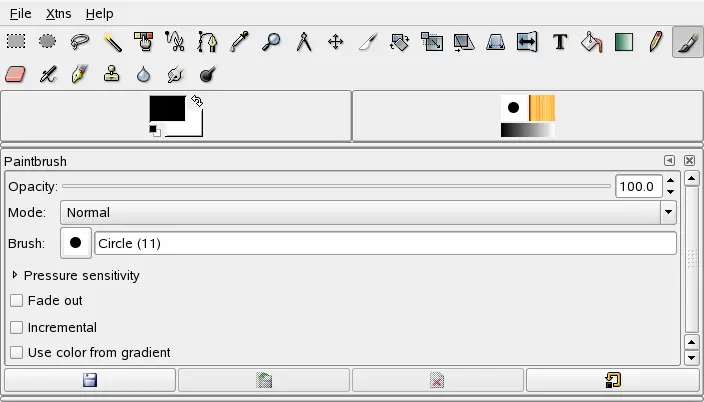
17.2.2 The Default Windows

Three windows appear by default. They can be arranged on the screen and, except the toolbox, closed if no longer needed. Closing the toolbox closes the application. In the default configuration, GIMP saves your window layout when you exit. Dialogs left open reappear when you next start the program.

The Toolbox

The main window of GIMP, shown in Figure 17-1, contains the main controls of the application. Closing it exits the application. At the very top, the menu bar offers access to file functions, extensions, and help. Below that, find icons for the various tools. Hover the mouse over an icon to display information about it.

Figure 17-1 The Main Window

The current foreground and background color are shown in two overlapping boxes. The default colors are black for the foreground and white for the background. Click the box to open a color selection dialog. Swap the foreground and background color with the bent arrow symbol to the upper right of the boxes. Use the black and white symbol to the lower left to reset the colors to the default.

To the right, the current brush, pattern, and gradient are shown. Click the displayed one to access the selection dialog. The lower portion of the window allows configuration of various options for the current tool.

Layers, Channels, Paths, Undo

In the first section, use the drop-down box to select the image to which the tabs refer. By clicking Auto, control whether the active image is chosen automatically. By default, Auto is enabled.

Layers shows the different layers in the current images and can be used to manipulate the layers. Channels shows and can manipulate the color channels of the image.

Paths are a vector-based method of selecting parts of an image. They can also be used for drawing. Paths shows the paths available for an image and provides access to path functions. Undo shows a limited history of modifications made to the current image.

SUSE Linux Enterprise Desktop (SLED 10) KDE Guide
Previous Page Home Next Page


  Published Courtesy of Novell, Inc. Design by Interspire