Using styles to format text
This chapter describes ways to apply manual formatting, but you are encouraged to use styles to really get the best out of Impress. The good news is that all the information given here can be immediately reused for applying styles.
Chapter 2 describes how to use styles efficiently and the difference between the presentation and graphic styles available in Impress.
Modifying a style
In Impress there are two categories of styles: presentation styles and graphics styles. When inserting text in an AutoLayout area, the presentation styles become available, while when inserting text in a text box or a graphic object it is possible to apply the graphic styles.
It is possible to create new graphics styles, but not the presentation styles which are fixed and can only be modified.
To modify a style, follow these steps:
- Open the Styles and Formatting window by pressing F11 or selecting Format > Styles and Formatting from the menu bar.
- Select the style category by clicking on either the Presentation Styles icon or the Graphic Styles icon at the top of the Style and Formatting window.
- Right-click on the style to be modified and select Modify from the pop-up menu.
If you have selected a presentation style, the dialog box below is shown.
The Presentation Style dialog box
The dialog box for making modifications to a graphics style is shown below.

The Graphics Style modification dialog box
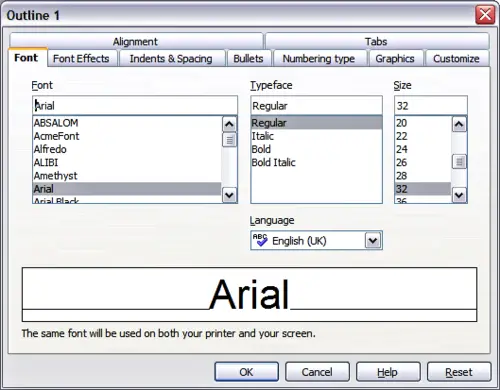
The Presentation Style dialog box shares five pages with the Graphics Style dialog box; these are the ones that determine the formatting of the text.
There is no difference between the parameters that characterize a style and the attributes given manually to portions of text: in fact the same dialogs boxes are used in both cases. Therefore once you master the formatting of text, you will know how to create and modify a style. In particular:
The other tabs of the Presentation Style dialog box are all related to bullets and numbering and are described in
Creating bulleted and numbered lists.
For additional details on the other tabs in the Graphics Style dialog box, please refer to Chapter 6 (Formatting Graphic Objects).
 | When Asian typography is activated (Tools > Options > Language Settings > Languages), the dialog boxes above contain an additional page to set some high-level options for Asian typography, the Fonts page contains additional information, and the Alignment page is slightly different.
|


