To view the character formatting options, select Format > Character or click the Character button
 on the Text Formatting toolbar. (If a toolbar with the text icon is not visible, choose View > Toolbars > Text Formatting.) The Character dialog box appears.
Font page
Use the Font page to select the desired font type, its base attributes (Italic, Bold, etc.) as well as the size. A sample of the font is displayed in the lower part of the dialog box. You can also specify the language of this style.
 | When writing a presentation in multiple languages, you can make the best of the language setting by creating two styles that only differ in the language but are otherwise the same. This allows you to check the spelling of all of the contents without affecting the appearance.
|
This page is available when creating or modifying a presentation style or a graphics style.
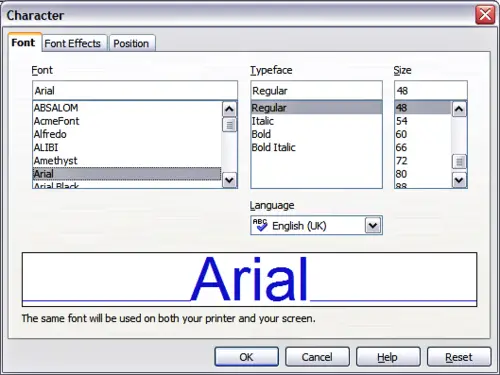
The dialog box to set the basic font attributes
If Asian Typography has been enabled, the Font page looks like the figure below.
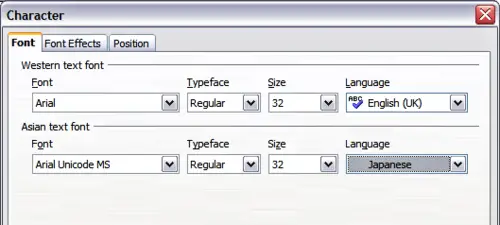
The Font page when Asian Typography is enabled
The page is divided into three parts. The top and bottom parts have the same functionality as described above, while in the middle part you can specify the Asian text font and its attributes.
Font Effects page
Use the Font Effects page to apply special effects to the text, such as underlining, color, shadow and so on. As for the Font page, a sample of the text is displayed in the lower part of the dialog box allowing a quick visual check of the effects applied.
This page is available when creating or modifying a presentation style or a graphics style.
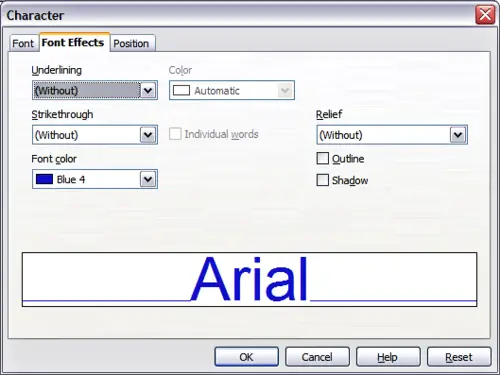
Advanced options for the character can be set in the Font Effects page
Position page
The Position page has advanced options to customize text. This page is not available when creating or modifying a presentation style or a graphics style.
Use this page to set the text position relative to the baseline when you need to insert subscripts or superscripts.
To create a superscript or a subscript do the following:
- Select Superscript or subscript as applicable.
- Specify the amount by which the text should be raised (superscripts) or lowered (subscripts).
- Specify the dimension of the character relative to the baseline character size (in percentage).
The amount by which the text is raised or lowered can be set to automatic by selecting the Automatic checkbox.
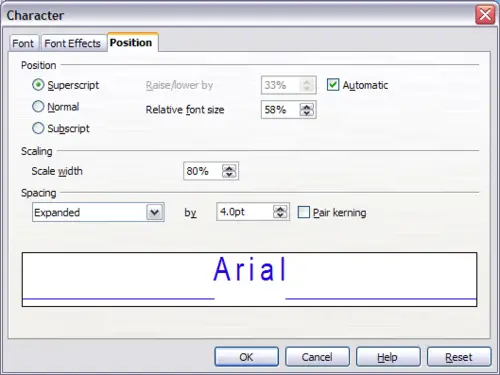
Setting the character position attributes
Two more position attributes can be set on this page:
- The (width) scaling of the text, which specifies the percentage of the font width by which to compress or expand the individual characters of the selected text.
- The spacing between the characters of the font, which can be defined in number of points. Selecting the Pair kerning checkbox causes OOo to automatically adjust the spacing between certain pairs of characters to visually improve the appearance. For example, when writing a V followed by an A (VA) the spacing between the two letters is reduced (strong kerning) as can be easily seen when compared with, say, VS which is not a kerning pair.


