Adding background objects
This section describes how to add background objects and graphic elements (such as a logo, decorative lines, and so on). OOo supports a large number of picture formats.
Whenever you want the same graphic element to appear on every slide of your presentation, the easiest and quickest solution is to use the slide master. Not only it will save time while creating the presentation, but also when you decide to either modify the graphic element or reposition it on the slide. If the graphic element was added to each slide, the same operations would have to be performed on each individual slide of the presentation.
One of the most common activities when preparing a presentation is to add a picture to the slide master. To insert a picture already available on the hard disk, follow these steps:
- Choose View > Master > Slide Master from the menu bar.
- Select from the menu bar Insert > Picture > From File.
- Navigate to the directory where your picture is and select it. If you want to see a preview, select the corresponding checkbox in the file browser dialog box.
 | OOo offers the option to insert a picture as a link to the file rather than embedding it in the document. This can be useful when a presentation is not intended to be distributed elsewhere, and where it will remain in the same hierarchical directory structure. For example, it could be created on a notebook computer, from which the presentation will be given to, typically, a group of clients.
If the presentation file is to be distributed, however, the picture should be embedded to avoid the “missing picture” syndrome when the presentation is finally given on a different computer.
|
Once the picture is inserted, you may need to reposition it and modify its size. How to do that is explained in Chapter 4 (Adding and Formatting Pictures).
 | If you want the image to blend with the background, you can set the background color of the picture as transparent. Select the picture, then chose Tools > Eyedropper from the menu bar. Check the first checkbox and then move the mouse on the picture and click on the color you would like to make transparent. This color appears next to the checkbox. Make sure that Replace with... is set to Transparent and click Replace.
|
In addition to pictures you can add a number of other background objects, for example decorative lines, text and shapes. Below is an example of a slide master with a custom background gradient, a background picture, another picture in the top right corner, some decorative lines and some customized presentation styles.
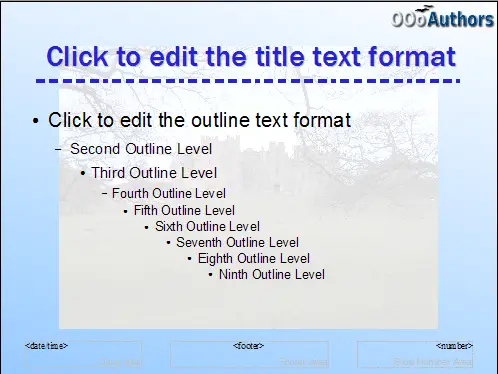
Example of a complex slide with several modifications


