|
 |
|
| |
Creating scenarios
To create a scenario, select all the cells that provide the data for the scenario.
- Select the cells that contain the values that will change between scenarios. To select multiple cells, hold down the Ctrl key as you click each cell.
- Choose Tools > Scenarios.
- On the Create Scenario dialog, enter a name for the new scenario. It’s best to use a name that clearly identifies the scenario, not the default name as shown in the illustration. This name is displayed in the Navigator and on the title bar of the scenario on the sheet itself.
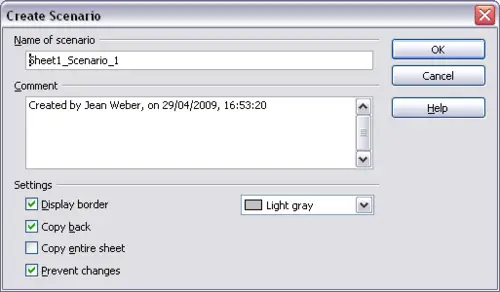 Creating a scenario - Optionally add some information to the Comment box. The example shows the default comment. This information is displayed in the Navigator when you click the Scenarios icon and select the desired scenario.
- Optionally select or deselect the options in the Settings section. See below for more information about these options.
- Click OK to close the dialog. The new scenario is automatically activated.
|
|
|


