We mentioned in the previous section that there were no disk shares on the
hydra server. Let's continue with the configuration file and create an empty disk share called [
data]. Here are the additions that will do it:
[global]
	netbios name = HYDRA
	server string = Samba %v on (%L)
	workgroup = SIMPLE

[data]
	path = /export/samba/data
	comment = Data Drive
	volume = Sample-Data-Drive
	writeable = yes
	guest ok = yes
The
[data] share is typical for a Samba disk share. The share maps to a directory on the Samba server:
/export/samba/data. We've also provided a comment that describes the share as a
Data
Drive, as well as a volume name for the share itself.
The share is set to writeable so that users can write data to it; the default with Samba is to create a read-only share. As a result, this option needs to be explicitly set for each disk share you wish to make writeable.
You may have noticed that we set the
guest
ok parameter to
yes. While this isn't very security-conscious, there are some password issues that we need to understand before setting up individual users and authentication. For the moment, this will sidestep those issues and let anyone connect to the share.
Go ahead and make these additions to your configuration file. In addition, create the
/export/samba/data directory as root on your Samba machine with the following commands:
# mkdir /export/samba/data

# chmod 777 /export/samba/data
Now, if you connect to the
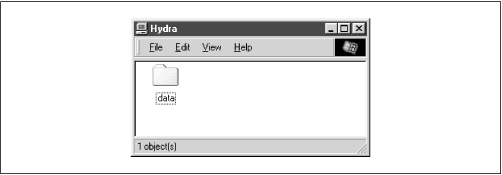
hydra server again (you can do this by clicking on its icon in the Windows Network Neighborhood), you should see a single share listed entitled
data, as shown in
Figure 4.4. This share should also have read/write access to it. Try creating or copying a file into the share. Or, if you're really feeling adventurous, you can even try mapping a network drive to it!

