1.1 Logging In and Selecting a Desktop
If more than one user account is configured on your computer,
all users must authenticate. When you start your system, you are
prompted to enter your username and password. This is the username
and password you created when you installed your system. If you did
not install your system, check with your system administrator for
your username and password.
NOTE: Auto Login
If your computer is not run in a networking environment
and you are the only person using it, you can automatically log in
to the desktop environment on boot. In this case, you do not see any
login screen. This feature, called auto login,
can be enabled or disabled during installation or at any time using
the YaST user management module.
The program managing the login process depends on the
desktop environment installed on your system. For KDE, it is KDM. If
additionally the GNOME desktop is installed on your system, it may be
GDM.
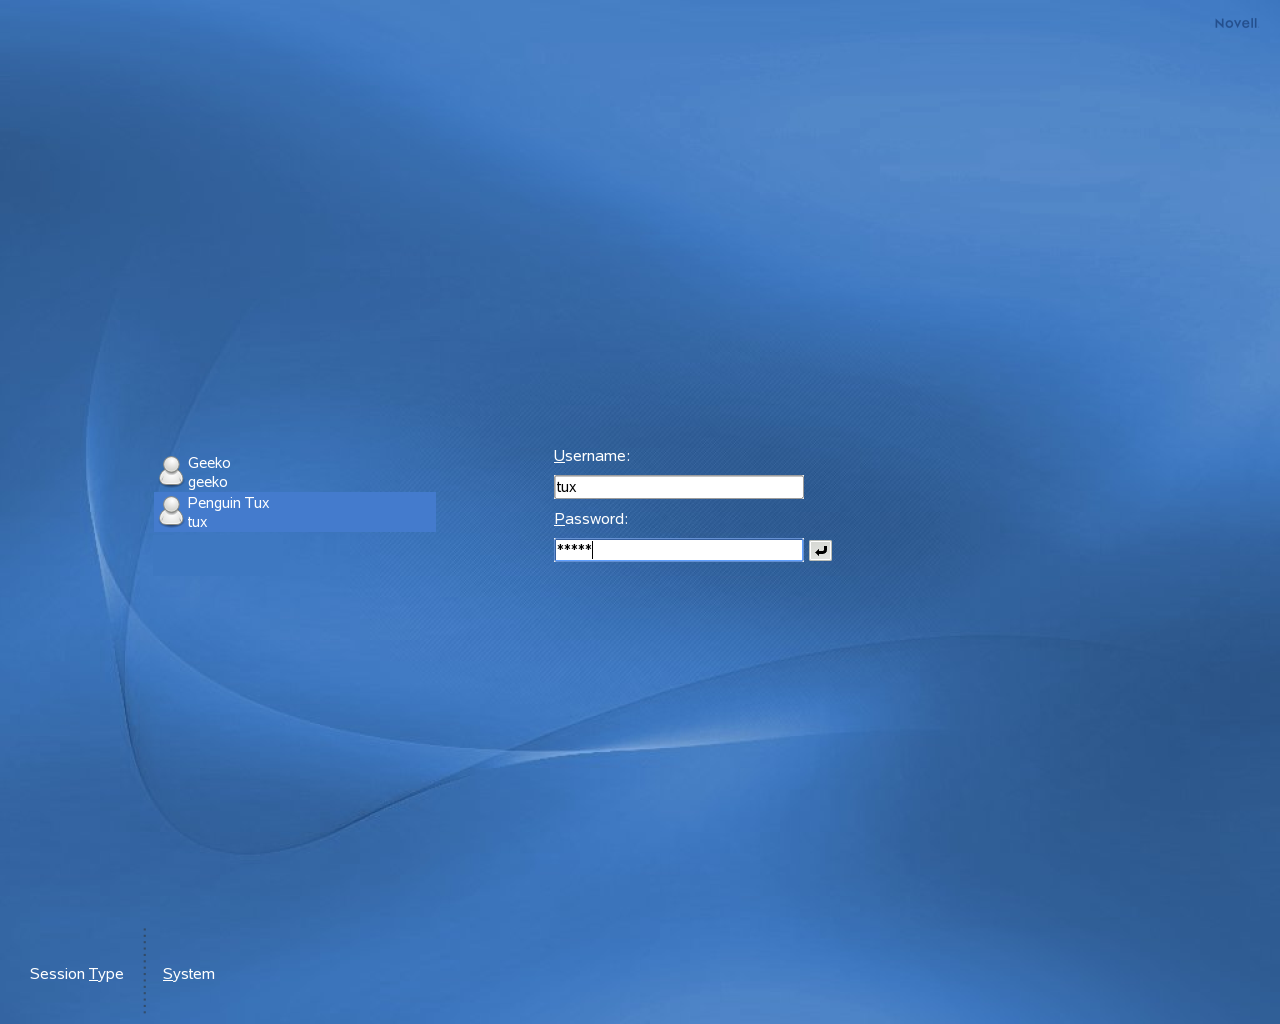
As shown in Figure 1-1,
the default KDM login screen provides input fields for username and
password and two menu items. To start a normal login, just enter your
username and password.
The KDM login screen has input fields for username and password
and the following menu items:
-
-
Specifies the desktop to run when you log in. If
desktops other than KDE are installed, they appear in the list.
Make changes only if you want to use a session type other than
your default (usually KDE). Future sessions are automatically of
the same type unless you change the session type manually.
-
-
Performs a system action, such as shutting down the computer
or starting different login actions. enables you to log in on a remote machine.
NOTE: Connecting to an Active Directory Server
To access shared network resources, you can also
authenticate a KDE client machine against an Active Directory
server. For further details, refer to Section 9.0,
Accessing Network Resources. If your machine is configured for this kind of
authentication, the login screen also provides an additional field.
In this case, proceed as follows during login:
-
Select the domain from the list.
-
Enter your Windows username.
-
Enter your Windows password and press
Enter.
1.1.1 Controlling a Session
The Session Manager starts after your username and password are
authenticated by the login process. The Session Manager lets you
save certain settings for each session. It also lets you save the
state of your most recent session and return to that status the next
time you log in.
The Session Manager can save and restore the following
settings:
-
Appearance and behavior settings, such as fonts, colors, and
mouse settings.
-
Applications that you were running, such as a file manager or
OpenOffice.org.
IMPORTANT: Saving and Restoring Applications
You cannot save and restore applications that Session
Manager does not manage. For example, if you start the vi editor
from the command line in a terminal window, Session Manager
cannot restore your editing session.
For information about configuring session preferences, see
KDE Components.
1.1.2 Switching Desktops
If you installed both the KDE and the GNOME desktops, use the
following instructions to switch desktops.
-
If you are logged in to KDE, select from the main menu. On the login screen, click
.
-
Select the GNOME desktop.
-
Enter your username.
-
Enter your password. The GNOME desktop is started.
See GNOME User Guide https://www.novell.com/documentation/sled10/ for
more information about using the GNOME desktop.
-
To switch back to KDE again, click on the panel of the GNOME desktop then click
. The session is closed and the login screen
reappears.
-
Before logging in again, click and select in the login
screen. If you do not select a new session type, your next session
will be of the same type (GNOME) as the session before.
1.1.3 Locking Your Screen
To lock the screen, do either of the following:
-
From the main menu, select .
-
Use the keyboard shortcut defined in the KDE Control Center.
Usually, this is
L
.
For quick access, you can also add the
and icons to the panel. To do so,
right-click the panel then click . In the following window, select
and click .
When you lock your screen, the screensaver starts. To unlock
the screen, move your mouse to display the locked screen dialog.
Enter your username and password then press .
For information about configuring your screensaver, see
Appearance & Themes.