2.1 Hardware
Hardware settings include the following:
2.1.1 Configuring Bluetooth Services
Bluetooth services enable you to connect wireless devices
such as mobile phones and personal data assistants (PDAs) to your
computer. Bluetooth wireless support includes automatic recognition
of Bluetooth-enabled devices via the YaST central configuration
and administration tool. Click > > > ,
then set the configuration options that are appropriate for your
device.
NOTE:Root privileges are required for configuring Bluetooth services.
2.1.2 Configuring Your Graphics Card and
Monitor
Your graphics card was configured for your monitor when you
installed SLED. If you ever need to change these settings, click > > > , then set the appropriate options for your
monitor.
NOTE:Graphics card configuration is done in YaST2 and requires
root privileges.
2.1.3 Modifying Keyboard
Preferences
Use the Keyboard Preferences tool to modify the autorepeat
preferences for your keyboard and to configure typing break settings.
Click > > > .
You can set the following preferences:
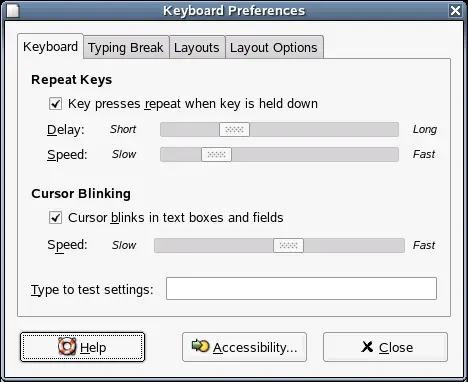
Configuring Keyboard Preferences
Use the Keyboard tabbed page to set general keyboard preferences.
You can modify any of the following keyboard preferences:
Table 2-1 Keyboard
Preferences
|
|
Enables keyboard repeat. The action associated
with a key is performed repeatedly when you press and hold that
key. For example, if you press and hold a character key, the character
is typed repeatedly.
Use the option to select the delay
from the time you press a key to the time that the action repeats.
Use the option to set the speed at
which the action is repeated. |
|
|
Lets the cursor blink in fields and text
boxes.
Use the slider to specify the speed at which the cursor blinks. |
|
|
The test area is an interactive interface
that lets you see how the keyboard settings affect the display as
you type. Type text in the test area to test the effect of your
settings. |
Click the button to start
the Keyboard accessibility preference tool.
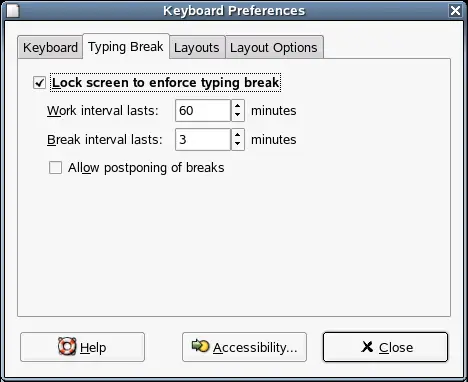
Configuring Typing Break Preferences
Use the Typing Break tabbed page to set typing break preferences.
You can modify any of the following typing break preferences:
Table 2-2 Typing
Break Preferences
|
|
Locks the screen when you are due a typing
break. |
|
|
Lets you specify how long you can work
before a typing break occurs. |
|
|
Lets you specify the length of your typing
breaks. |
|
|
Lets you postpone typing breaks. |
Click the button to start
the Keyboard accessibility preference tool.
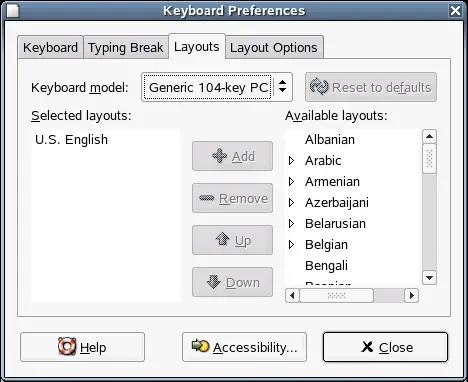
Configuring Keyboard Layout Preferences
Use the Layouts tabbed page to set your keyboard layout.
Select your keyboard model from the drop-down list, then use
the navigational buttons to add or remove the selected layout to
or from the list of available layouts.
You can select different layouts to suit different locales.
Click the button to start
the Keyboard accessibility preference tool.
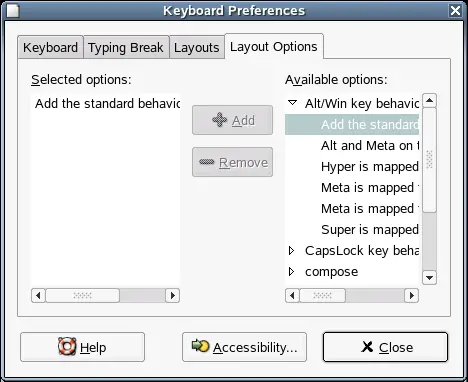
Configuring Keyboard Layout Options
Use the Layout Options tabbed page to set your keyboard layout
options.
Select an option from the list of available layout options
and click to add the option or to
remove it.
Click the button to start
the Keyboard accessibility preference tool.
2.1.4 Configuring the
Mouse
Use the Mouse Preference tool to configure your mouse for
right-hand use or for left-hand use. You can also specify the speed
and sensitivity of mouse movement.
Click > > > .
You can customize the settings for the Mouse Preference tool
in the following areas:
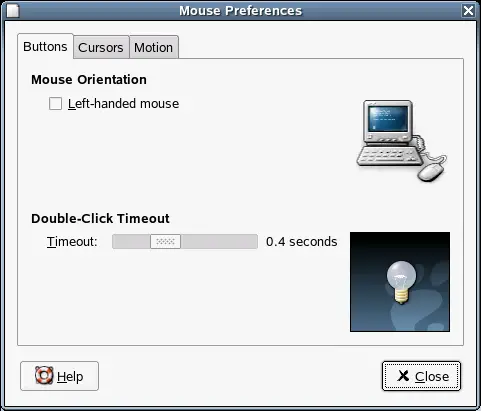
Configuring Button Preferences
Use the Buttons tabbed page to specify whether the mouse buttons
are configured for left-hand use. You can also specify the delay
between clicks for a double-click.
The following table lists the mouse button preferences you
can modify.
Table 2-3 Mouse
Button Preferences
|
|
Configures your mouse for left-hand use,
swapping the functions of the left mouse button. |
|
|
Use the slider to specify the amount
of time that can pass between clicks when you double-click. If the
interval between the first and second clicks exceeds the time that
is specified here, the action is not interpreted as a double-click. |
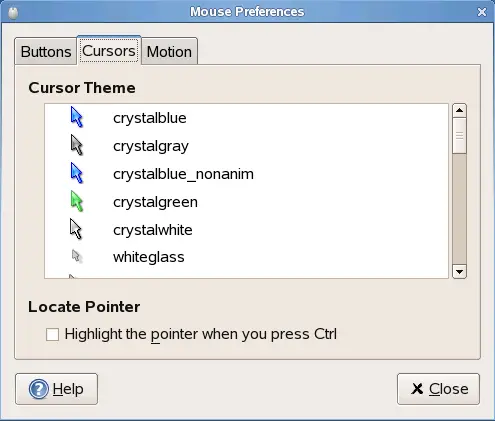
Configuring Cursor Preferences
Use the Cursors tabbed page to set your mouse pointer preferences.
The following table lists the mouse pointer preferences you
can modify.
Table 2-4 Mouse
Pointer Preferences
|
|
Displays the available cursor themes. |
|
|
Enables a mouse pointer animation when
you press and release Ctrl. This feature can help you locate the
mouse pointer. |
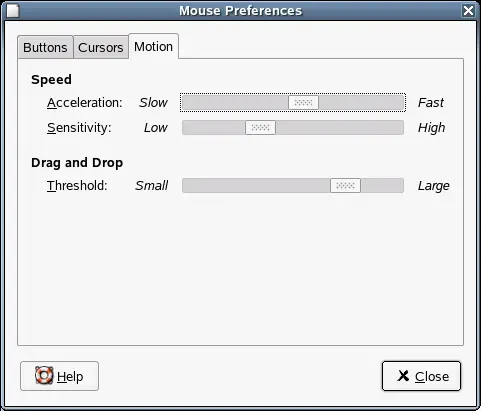
Configuring Motion Preferences
Use the Motion tabbed page to set your preferences for mouse
movement.
The following table lists the mouse motion preferences you
can modify.
Table 2-5 Mouse
Motion Preferences
|
|
Use the slider to specify the speed at
which your mouse pointer moves on your screen when you move your
mouse. |
|
|
Use the slider to specify how sensitive
your mouse pointer is to movements of your mouse. |
|
|
Use the slider to specify the distance
that you must move an item before the move action is interpreted
as a drag and drop action. |
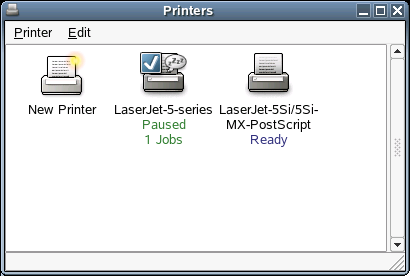
2.1.5 Installing and Configuring Printers
Use the Printers module to install and configure printers.
To start the Printers module, click > > > .
For more information about setting up printing, see Section 8.0, Managing Printers.
2.1.6 Configuring Removable Drives and Media
SLED supports a wide variety of removable drives and media,
including storage devices, cameras, scanners, and more. The configurations
for many of these devices are set up automatically when SLED is
installed. To change the configuration for a drive or other removable
device, click > > > .
Some of the possible configuration settings include:
- What happens when a blank CD is inserted
in the CD drive
- What happens when an audio CD is inserted in the
drive
- Whether images are automatically imported from a
digital camera when it is attached to the computer
- Whether removable storage devices are mounted when
they are plugged in to the computer
- Whether PDAs are automatically synced when attached
to the computer
In general, you do not need to change the settings that are
already configured unless you want to change the behavior when a
device is connected or if you want to connect a new device that
is not yet configured. If you attach a device for the first time
and it behaves in an unexpected or undesired way, check the Removable
Drives and Media settings.
2.1.7 Configuring a Scanner
The Scanner configuration enables you to attach and configure
a scanner, or to remove an already-attached scanner.
NOTE:Scanner configuration is done in YaST2 and requires root privileges.
To open YaST2 and configure a scanner, click > > > . Refer
to the instructions on the screen
for information about the available options.
2.1.8 Specifying Screen Resolution Settings
Use this module to specify the resolution settings for your
screen, including Resolution and Refresh Rate.
Click > > > .
The following table lists the screen resolution preferences
you can modify.
Table 2-6 Screen
Resolution Preferences
|
|
Select the resolution (in pixels) to
use for the screen. |
|
|
Select the refresh rate to use for the
screen. |
|
|
Makes the screen resolution settings
the default settings only for the computer that you are logged in
to. |
If you cannot find a setting you want, you might need to use
the Administrator Settings to reconfigure your graphics card and
monitor settings. See Configuring
the Graphics Card and Monitor in the SUSE Linux
Enterprise Desktop Deployment Guide for more information.