Follow Techotopia on Twitter

On-line Guides
All Guides
eBook Store
iOS / Android
Linux for Beginners
Office Productivity
Linux Installation
Linux Security
Linux Utilities
Linux Virtualization
Linux Kernel
System/Network Admin
Programming
Scripting Languages
Development Tools
Web Development
GUI Toolkits/Desktop
Databases
Mail Systems
openSolaris
Eclipse Documentation
Techotopia.com
Virtuatopia.com
Answertopia.com

How To Guides
Virtualization
General System Admin
Linux Security
Linux Filesystems
Web Servers
Graphics & Desktop
PC Hardware
Windows
Problem Solutions
Privacy Policy


Red Hat Enterprise Linux 9 Essentials Book now available.

Purchase a copy of Red Hat Enterprise Linux 9 (RHEL 9) Essentials

Red Hat Enterprise Linux 9 Essentials Print and eBook (PDF) editions contain 34 chapters and 298 pages

Preview Book

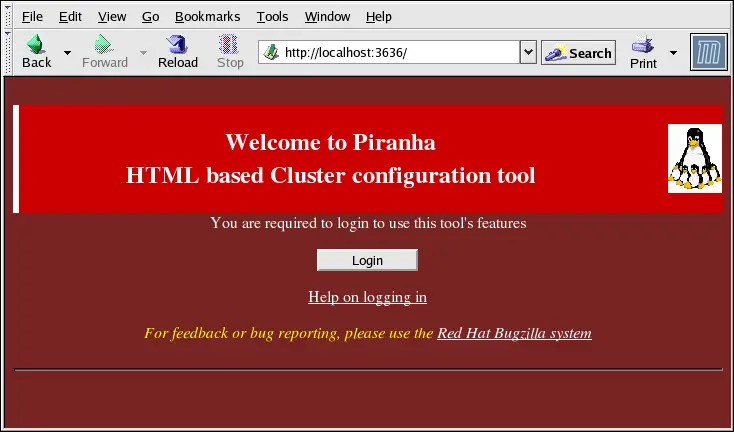
4.2. Logging Into the Piranha Configuration Tool

When configuring the Load Balancer Add-On, you should always begin by configuring the primary router with the Piranha Configuration Tool. To do this,verify that the piranha-gui service is running and an administrative password has been set, as described in Section 2.2, “Setting a Password for the Piranha Configuration Tool.
If you are accessing the machine locally, you can open https://localhost:3636 in a Web browser to access the Piranha Configuration Tool. Otherwise, type in the hostname or real IP address for the server followed by :3636. Once the browser connects, you will see the screen shown in Figure 4.1, “The Welcome Panel”.
The Welcome Panel
The Welcome Panel
Figure 4.1. The Welcome Panel

Click on the Login button and enter piranha for the Username and the administrative password you created in the Password field.
The Piranha Configuration Tool is made of four main screens or panels. In addition, the Virtual Servers panel contains four subsections. The CONTROL/MONITORING panel is the first panel after the login screen.


  Published under the terms of the Creative Commons License Design by Interspire