OLE objects
Use an OLE (Object Linking and Embedding) object to insert in a presentation either a new document or an existing one. Embedding inserts a copy of the object and details of the source program in the target document, that is the program which is associated to the file type in the operating system. The major benefit of an OLE object is that it is quick and easy to edit the contents just by double-clicking on it. You can also insert a link to the object that will appear as an icon rather than an area showing the contents itself.
To create and insert a new OLE object:
- Select Insert > Object > OLE object from the main menu. This opens the dialog box shown below.
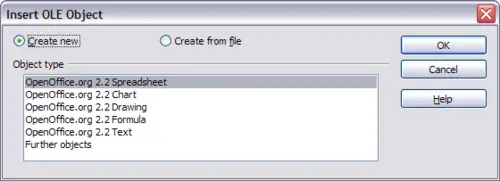
Insert OLE Object dialog box
- Select Create new and select the object type among the available options.
 | “Further objects” is only available under a Windows operating system. It does not appear in the list under any other system.
|
- Click OK. An empty container is placed in the slide.
- Double-click on the OLE object to enter the edit mode of the object. The application devoted to handling that type of file will open the object.
|
| If the object inserted is handled by OpenOffice.org, then the transition to the program to manipulate the object will be seamless; in other cases the object opens in a new window and an option in the File menu becomes available to update the object you inserted.
|
To insert an existing object:
- Select Insert > Object > OLE object from the main menu.
- In the Insert OLE Object dialog box, select Create from file. The dialog box changes to look like the figure below.
- To insert the object as a link, select the Link to file checkbox. Otherwise, the object will be embedded.
- Click Search, select the required file in the file picker window, then click Open. A section of the inserted file is shown on the slide.
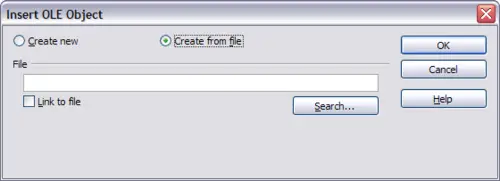
Inserting an object as a link
Other OLE objects
Under Windows, the Insert OLE Object dialog box has an extra entry, Further objects, as shown in Figure 17.
- Double-click on the entry Further objects to open the dialog box shown below.
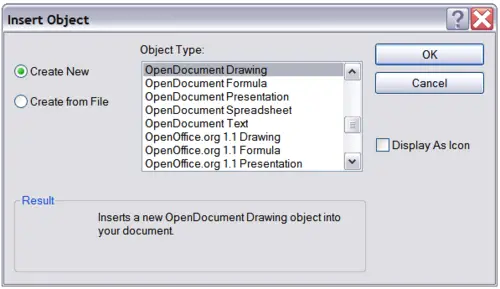
Advanced menu to insert an OLE object under Windows
- Select Create New to insert a new object of the type selected in the Object Type list, or select Create from File to create a new object from a file.
- If you choose Create from File, the dialog box shown below opens. Click Browse and choose the file to insert. The inserted file object is editable by the Windows program that created it.
If instead of inserting an object, you want to insert a link to an object, select the Display As Icon checkbox.
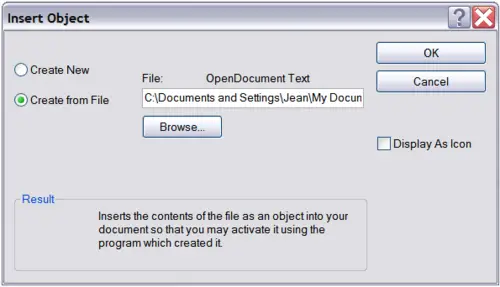
Insert object from a file


