Customizing toolbars
You can customize toolbars in several ways, including choosing which icons are visible and locking the position of a docked toolbar, as described in Chapter 1 (Introducing OpenOffice.org) of the Getting Started guide. This section describes how to create new toolbars and add other icons (commands) to the list of those available on a toolbar.
To get to the toolbar customization dialog, do any of the following:
- On the toolbar, click the arrow at the end of the toolbar and choose Customize Toolbar.
- Choose View > Toolbars > Customize from the menu bar.
- Choose Tools > Customize > Toolbars tab from the menu bar.
To customize toolbars:
- In the Save In drop-down list, choose whether to save this changed toolbar for Impress or for a selected document.
- In the OpenOffice.org Impress Toolbars section, select from the Toolbar drop-down list the toolbar that you want to customize.
- You can create a new toolbar by clicking on the New button, or customize existing toolbars by clicking on the Toolbar or Modify buttons, and add commands to a toolbar by clicking on the Add button. These actions are described below.
- When you are done customizing menus, click OK to save your changes.

The Toolbars page of the Customize window.
Creating a new toolbar
To create a new toolbar:
- Choose Tools > Customize > Toolbars from the menu bar.
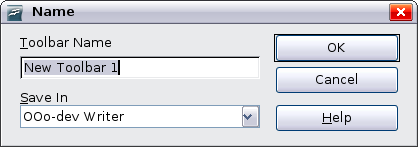
- Click New. On the Name dialog, type the new toolbar's name and choose from the Save In drop-down list where to save this changed menu: for the application (for example, Writer) or for a selected document.
The new toolbar now appears on the list of toolbars in the Customize dialog. After creating a new toolbar, you need to add some commands to it, as described below.
Adding a command to a toolbar
If the list of available buttons for a toolbar does not include all the commands you want on that toolbar, you can add commands. When you create a new toolbar, you need to add commands to it.
- On the Toolbars page of the Customize dialog, select the toolbar in the Toolbar list and click the Add button in the Toolbar Content section of the dialog.
- The Add Commands dialog is the same as for adding commands to menus. Select a category and then the command, and click Add. The dialog remains open, so you can select several commands. When you have finished adding commands, click Close. If you insert an item which does not have an associated icon, the toolbar will display the full name of the item: the next section describes how to choose an icon for a toolbar command.
- Back on the Customize dialog, you can use the up and down arrow buttons to arrange the commands in your preferred sequence.
- When you are done making changes, click OK to save.
Choosing icons for toolbar commands
Toolbar buttons usually have icons, not words, on them, but not all of the commands have associated icons.
To choose an icon for a command, select the command and click Modify > Change icon. On the Change Icon dialog, you can scroll through the available icons, select one, and click OK to assign it to the command.
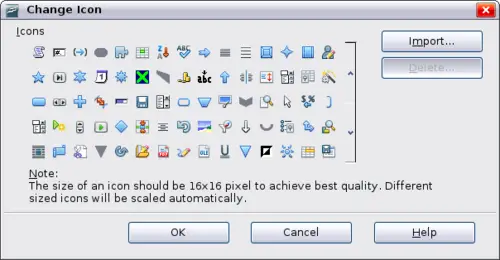
Change Icon dialog
To use a custom icon, create it in a graphics program and import it into OOo by clicking the Import button on the Change Icon dialog. Custom icons must be 16 x 16 or 26 x 26 pixels in size and cannot contain more than 256 colors.


