11.2. Manipulating Images with the
GIMP
The GNU Image Manipulation Program (GIMP)
is a powerful tool that can be used to create, alter, manipulate, and
enhance digital image files — photographs, scanned images,
computer-generated images, and more. This section offers a quick
overview of the GIMP and refers you to
comprehensive references for learning more about it.
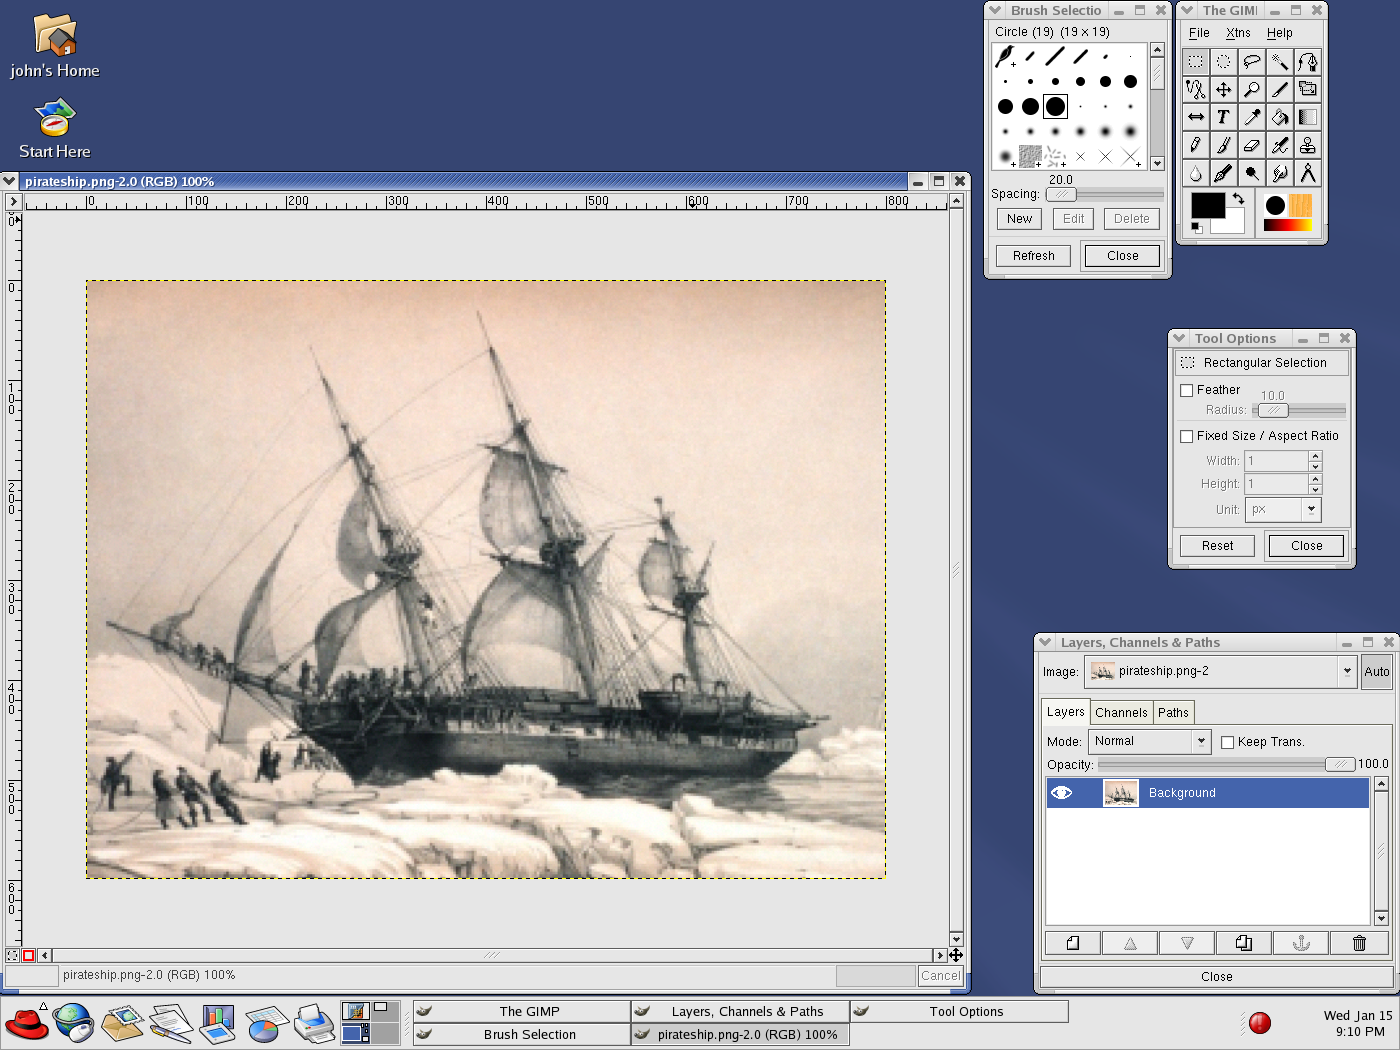
11.2.1. GIMP Basics
To use the GIMP, you will need to know
some of the basics. From a shell prompt, you start the
GIMP using the command
gimp, or you can start the
GIMP from the desktop by choosing
=> =>
.
Figure 11-5 shows a typical
GIMP session in action.
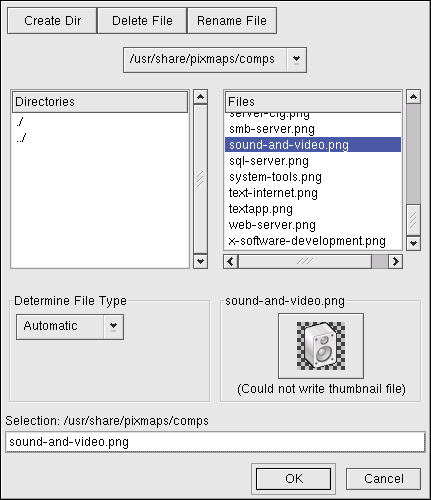
11.2.2. Loading a File
To load an existing file, select =>
. You will see the Load
Image dialog, as shown in Figure 11-6.
The Load Image dialog displays your working
directory — the directory you were in when the
GIMP was launched. You can navigate up and
down the file system tree by double-clicking on the
Directories list on the left, then selecting a
file to open from the Files list on the right.
File name completion is supported by the
GIMP. If you type the first letter (or
more) of a file name into the Selection field and
press the [Tab] key, the view will change to only those
subdirectories and/or files beginning with that letter or letters.
The file you select appears in the Selection
field near the bottom of the dialog. A thumbnail preview is displayed
in the dialog; alternatively, a Generate Preview
button is displayed. If you want to see a thumbnail of the image,
click on the Generate Preview button.
Once you have selected a file, click on the OK
button to open it. You can also double-click on a file name to open it.
11.2.3. Saving a File
To save an image file, right click on the image and choose
=> (or
). You will see the Save
Image dialog if you choose or if you choose and
the file has not been saved before.
The Save Image dialog looks almost exactly like
the Load Image dialog and navigation of the
file system tree and choosing files works in the same way.
When you are saving an image, you must choose an image format.
The GIMP supports a wide variety of image
formats, including .gif,
.png, .jpg, and
.bmp.
11.2.4. GIMP Options
Like many applications, the GIMP
provides more than one method to accomplish tasks. The easiest way to
work with images is to right-click the image, which displays a set
of menus containing most of the GIMP's many
capabilities, including image sizing, rotation, and filter
application.
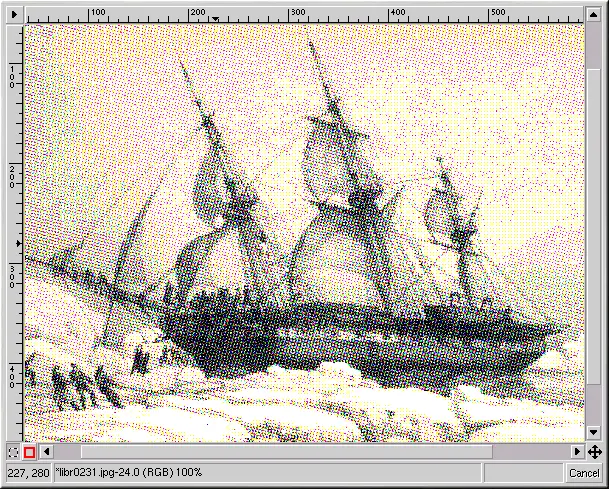
For example, imagine you have a picture that you would like to
modify to make it look as if it were clipped from a newspaper. To do
this, right-click on the image and select
=>
=>
. Select the quantity of lines
per inch using the sliders. When you reach a desired quantity and are
ready to render the image, click OK. The
GIMP then renders the image with the
new effect applied. Figure 11-7 shows an example
of an image after the filter has
been applied:
The Toolbox also has several easily
accessible functions. Using the Toolbox, you can
add text to images, erase regions of an image, or even fill selected
regions with the color of your choice.
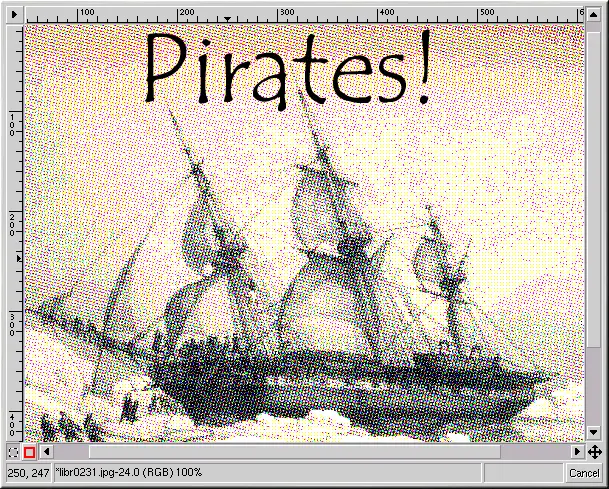
For example, if you wish to add text to a file, select the
 button and click on your image. This loads the
Text Tool dialog box, where you can choose a font
and type some text in the provided text box. Click
OK and your text is displayed as a floating
section on the image. You can then move the text to the position you
wish using the Move Layers tool. Figure 11-8 shows our photo with exciting new
text:
button and click on your image. This loads the
Text Tool dialog box, where you can choose a font
and type some text in the provided text box. Click
OK and your text is displayed as a floating
section on the image. You can then move the text to the position you
wish using the Move Layers tool. Figure 11-8 shows our photo with exciting new
text:
As you can see, the GIMP is a powerful
image editing tool, and it takes some time to master all of its
functions. Try exploring some of the options yourself. If you make a
mistake, do not worry. You can always undo your mistakes by
right-clicking on the image and choosing
=>
.