Follow Techotopia on Twitter

On-line Guides
All Guides
eBook Store
iOS / Android
Linux for Beginners
Office Productivity
Linux Installation
Linux Security
Linux Utilities
Linux Virtualization
Linux Kernel
System/Network Admin
Programming
Scripting Languages
Development Tools
Web Development
GUI Toolkits/Desktop
Databases
Mail Systems
openSolaris
Eclipse Documentation
Techotopia.com
Virtuatopia.com
Answertopia.com

How To Guides
Virtualization
General System Admin
Linux Security
Linux Filesystems
Web Servers
Graphics & Desktop
PC Hardware
Windows
Problem Solutions
Privacy Policy


3.  Paths

3.1.  Stroking a Path

Figure 6.1.  The four paths from the top illustration, each stroked in a different way.

The four paths from the top illustration, each stroked in a different way.

Paths do not alter the appearance of the image pixel data unless they are stroked, using Edit->Stroke Path from the image menu or the Paths dialog right-click menu, or the “Stroke Path” button in the Tool Options dialog for the Path tool.

Figure 6.2.  The Stroke Path dialog.

The Stroke Path dialog.

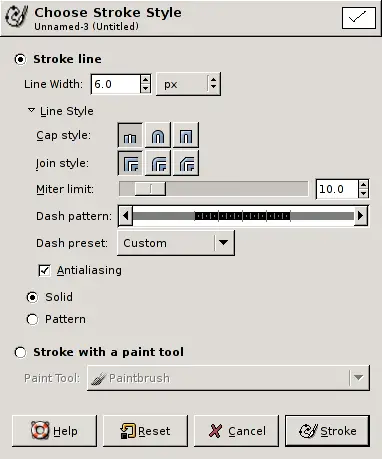
Choosing “Stroke Path” by any of these means brings up a dialog that allows you to control the way the stroking is done. You can choose from a wide variety of line styles, or you can stroke with any of the Paint tools, including unusual ones such as the Clone tool, Smudge tool, Eraser, etc.

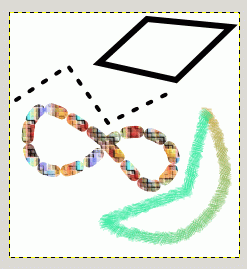
You can further increase the range of stroking effects by stroking a path multiple times, or by using lines or brushes of different widths. The possibilities for getting interesting effects in this way are almost unlimited.


  Published under the terms of the GNU General Public License Design by Interspire