Saving
perspectives
This tutorial has demonstrated how to add new views to the perspective,
rearrange the views and convert views into fast views. The Workbench also allows
this layout to be saved for future use.
-
In the shortcut bar click on the Resource perspective. The
Resource perspective is now active.
-
Drag the Outline view and stack it with one of the navigation
views.
-
Choose Window > Save Perspective As...
-
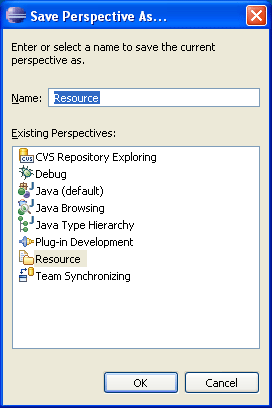
The Save Perspective As dialog allows for an existing perspective
to be redefined or for a new perspective to be created.
Click OK to update the Resource perspective and Yes
to the subsequent confirmation dialog. The new perspective layout will be
used if the perspective is reset or if a new one is opened.
-
In the Resource perspective move the Outline view so that
it is now stacked with the Tasks view.
-
Choose Window > Reset Perspective. Notice the Outline
view is stacked with the navigation view. Originally when the Workbench
was first started it was below the navigation view, but because the perspective
was saved with the navigation view and Outline stacked, it now considers
this its initial layout.
-
Choose Window > New Window to open a second window
showing the resource perspective. Observe that it uses the newly saved layout.
-
Close the second window.
While the Resource perspective has been changed, there is a way
to get back the original layout. To reset the Resource perspective to its original
layout:
-
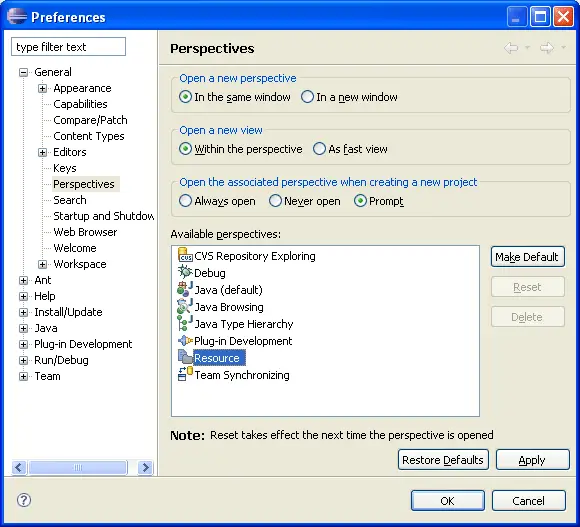
Choose Window > Preferences.
-
Expand General and select Perspectives.
-
Select Resource (default) > Make Default and then
click OK.
-
Any changes to the saved state of the perspective has now
been undone. To update the current copy of the Resource perspective that
is being worked with, also choose Window > Reset Perspective from
the Workbench's menu bar.


