From CDT 4.0 its possible to create projects based upon templates defined by the IDE supplier. What this means is
that you can easily create a project which contains customized source code and is ready for use in a few clicks. Some
aspects of the generated project may be customized by the user as part of the new project wizard.
To create a project from a template:
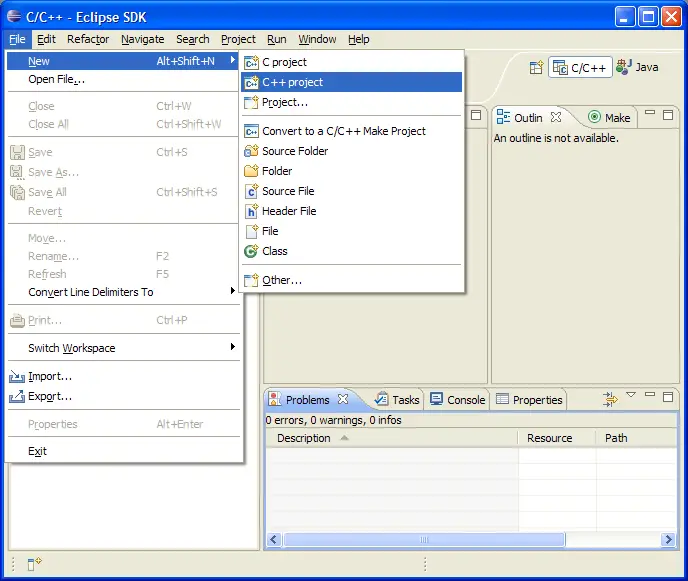
Click File > New > C Project or File > New > C++ Project.
The wizard will open as shown below.
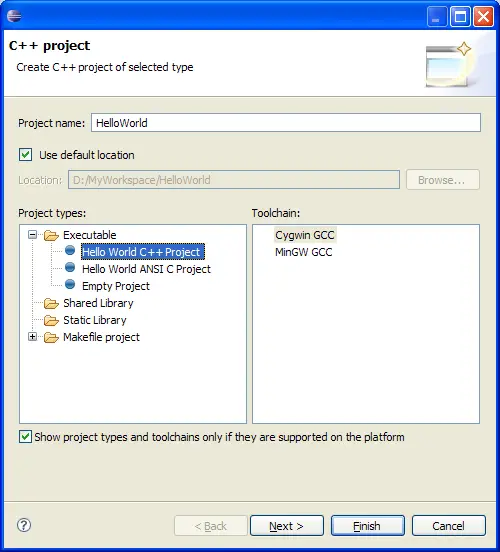
Expand the project type that you are interested in. For more information on project types, see
Selecting a project type This shows the template projects that you can use as a basis
for your new project. CDT comes with some simple templates, but ISVs can add further templates by using the
org.eclipse.cdt.core.templates extension point.
In the Project Name box, type a name. The example uses "HelloWorld"
Click Next.
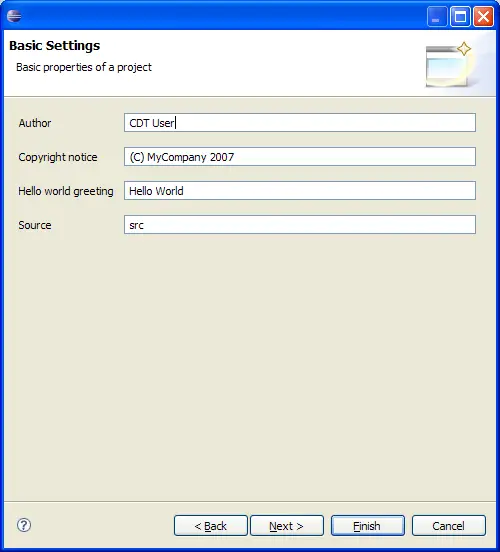
The next page is dependent on the type of template you selected. It will consist of a number of input fields, maybe with
default values, that will be fed into the template you create.
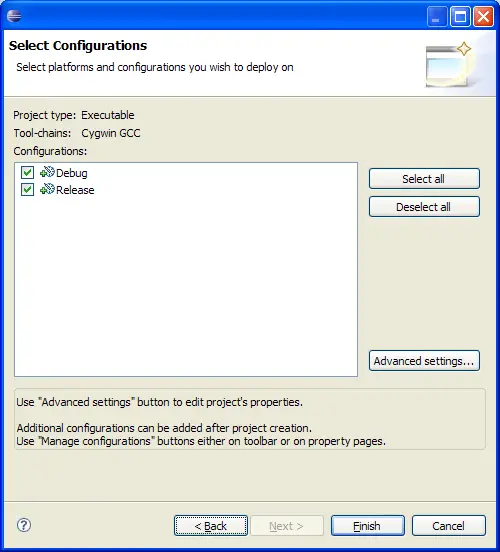
This last page "Select Configurations" can be skipped, or allows further project configuration in the same way as non-template-based projects.
To create your project, click Finish.
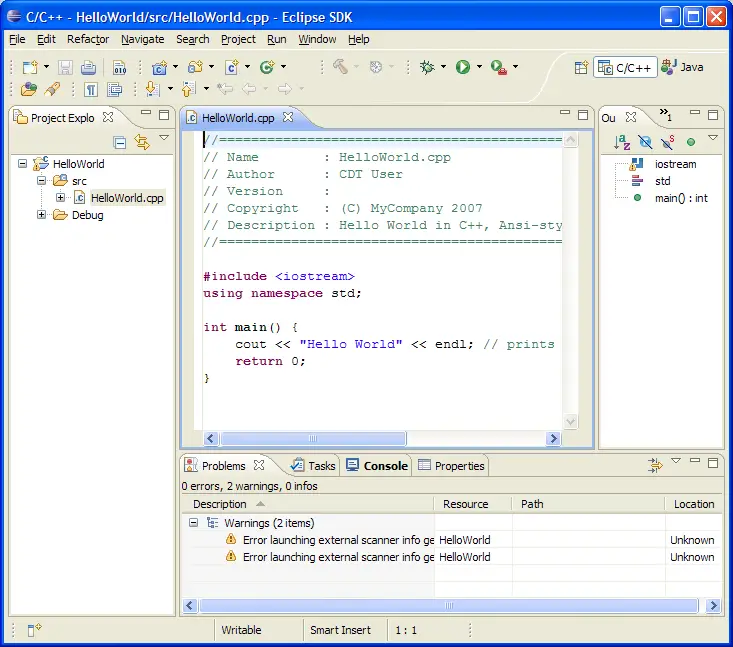
In the Project Explorer you will see that the new project has been created. You will see that the source file has
been customized with the values you entered earlier in the wizard.
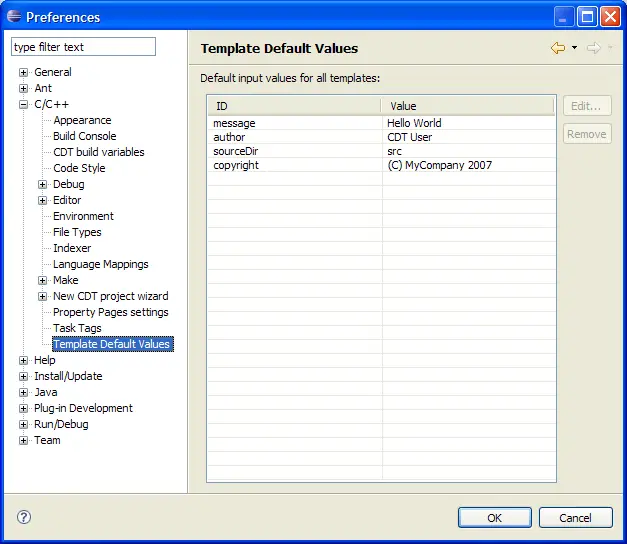
Sometimes values you enter into the template wizard will be remembered between sessions in order that you do not
need enter them each time. If you want to change these you can use Window > Preferences > C/C++ > Template Default Values