33.7. Modifying Existing Printers
To delete an existing printer, select the printer and click the
Delete button on the toolbar. The printer
is removed from the printer list once you confirm deletion of the
printer configuration.
To set the default printer, select the printer from the printer
list and click the Make Default Printer
button in the Settings tab.
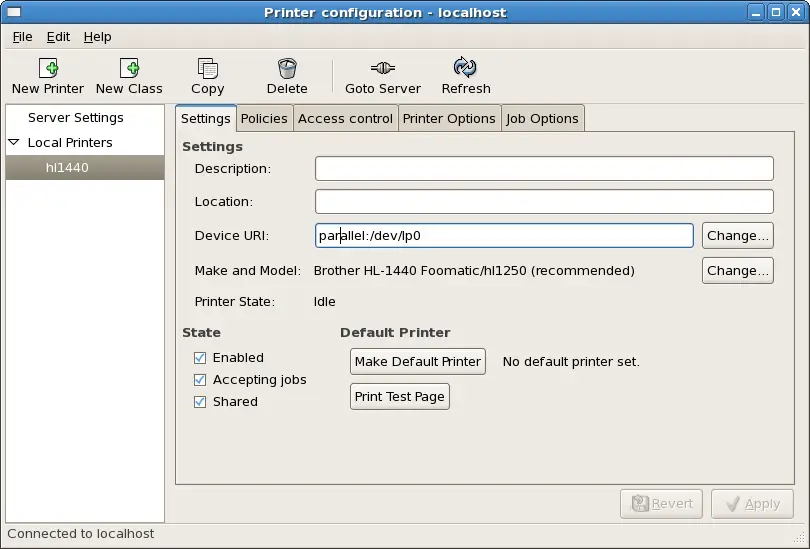
To change printer driver configuration, click the corresponding
name in the Printer list and click the
Settings tab.
You can modify printer settings such as make and model, make a
printer the default, print a test page, change the device
location (URI), and more.
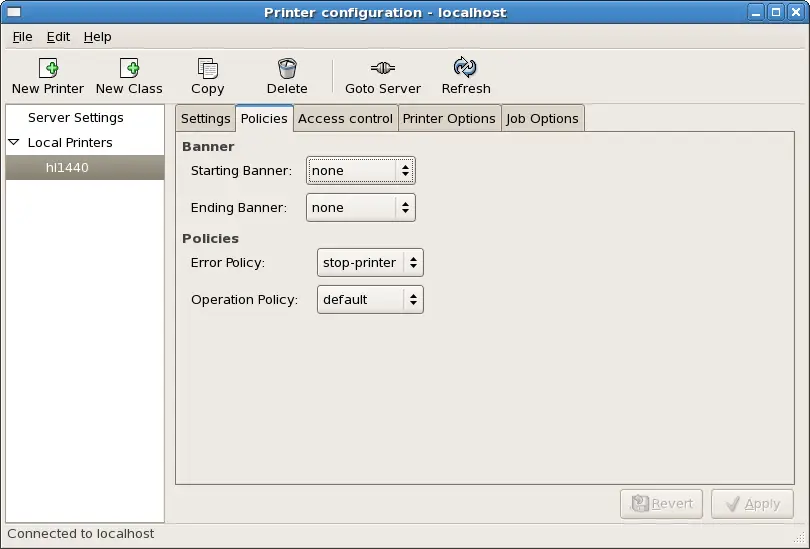
To change settings in print output, click the
Policies tab.
For example, to create a banner page (a
page that describes aspects of the print job such as the
originating printer, the username from the which the job
originated, and the security status of the document being
printed) click the Starting Banner or
Ending Banner drop-menu and choose the
option that best describes the nature of the print jobs (such
as topsecret,
classified, or
confidential).
You can also configure the Error Policy of
the printer, by choosing an option from the drop-down menu. You
can choose to abort the print job, retry, or stop it.
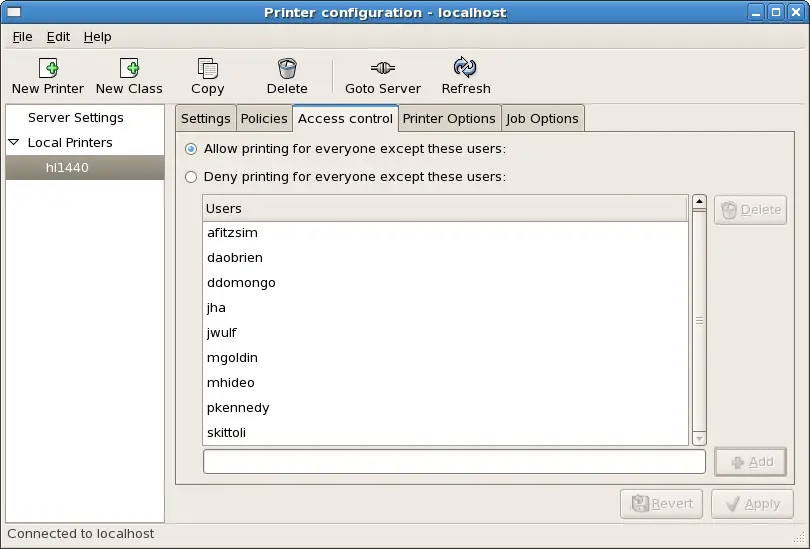
33.7.3. The Access Control Tab
You can change user-level access to the configured printer by
clicking the Access Control tab.
Add users using the text box and click the
Add button beside it. You can then
choose to only allow use of the printer to that subset of users
or deny use to those users.
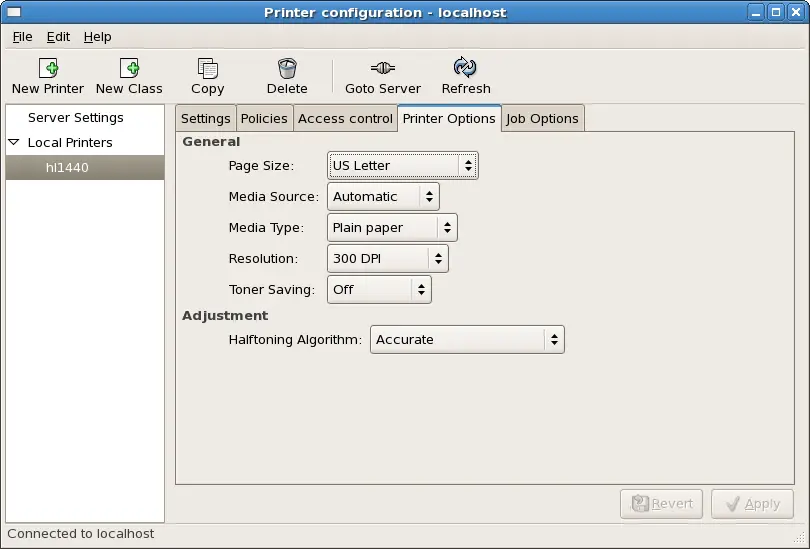
33.7.4. The Printer and Job
OptionsTab
The Printer Options tab contains various
configuration options for the printer media and output.
-
Page Size — Allows the paper
size to be selected. The options include US Letter, US
Legal, A3, and A4
-
Media Source — set to
Automatic by default. Change this
option to use paper from a different tray.
-
Media Type — Allows you to
change paper type. Options include: Plain, thick, bond,
and transparency.
-
Resolution — Configure the
quality and detail of the printout (default is 300 dots
per inch (dpi).
-
Toner Saving — Choose whether
the printer uses less toner to conserve resources.
You can also configure printer job options using the
Job Options tab. Use the drop-menu and
choose the job options you wish to use, such as
Landscape modes (horizontal or vertical
printout), copies, or
scaling (increase or decrease the size
of the printable area, which can be used to fit an oversize
print area onto a smaller physical sheet of print medium).