Follow Techotopia on Twitter

On-line Guides
All Guides
eBook Store
iOS / Android
Linux for Beginners
Office Productivity
Linux Installation
Linux Security
Linux Utilities
Linux Virtualization
Linux Kernel
System/Network Admin
Programming
Scripting Languages
Development Tools
Web Development
GUI Toolkits/Desktop
Databases
Mail Systems
openSolaris
Eclipse Documentation
Techotopia.com
Virtuatopia.com
Answertopia.com

How To Guides
Virtualization
General System Admin
Linux Security
Linux Filesystems
Web Servers
Graphics & Desktop
PC Hardware
Windows
Problem Solutions
Privacy Policy


Red Hat Enterprise Linux 9 Essentials Book now available.

Purchase a copy of Red Hat Enterprise Linux 9 (RHEL 9) Essentials

Red Hat Enterprise Linux 9 Essentials Print and eBook (PDF) editions contain 34 chapters and 298 pages

Preview Book

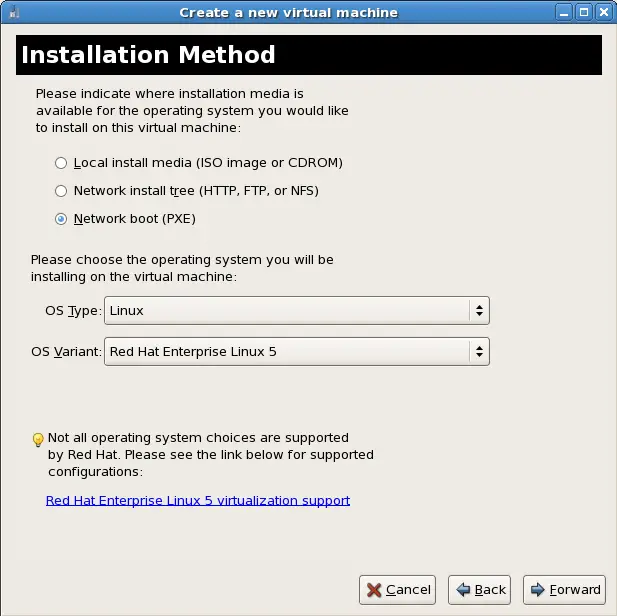
6.4. Installing guests with PXE

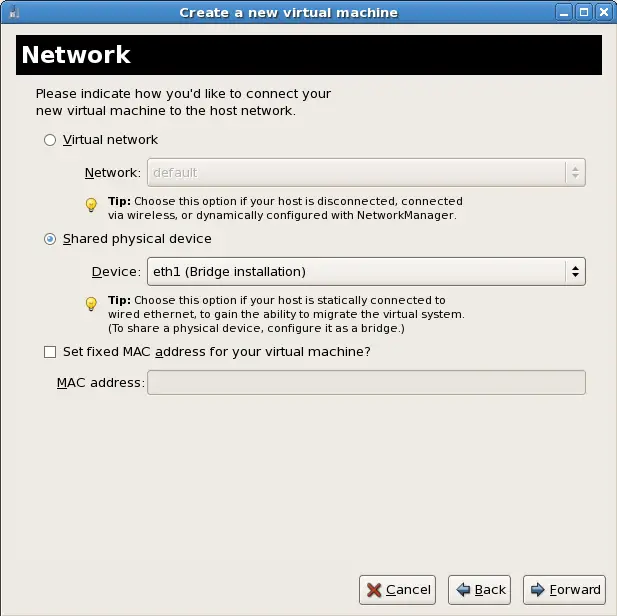
This section covers the steps required to install guests with PXE. PXE guest installation requires a shared network device, also known as a network bridge. The procedures below covers creating a bridge and the steps required to utilize the bridge for PXE installation.
  1. Create a new bridge

    1. Create a new network script file in the /etc/sysconfig/network-scripts/ directory. This example creates a file named ifcfg-installation which makes a bridge named installation.
      # cd /etc/sysconfig/network-scripts/
      # vim ifcfg-installation
      DEVICE=installation
      TYPE=Bridge
      BOOTPROTO=dhcp
      ONBOOT=yes
      

      Warning

      The line, TYPE=Bridge, is case-sensitive. It must have uppercase 'B' and lower case 'ridge'.
    2. Start the new bridge by restarting the network service. The ifup installation command can start the individual bridge but it is safer to test the entire network restarts properly.
      # service network restart
      
    3. There are no interfaces added to the new bridge yet. Use the brctl show command to view details about network bridges on the system.
      # brctl show
      bridge name     bridge id               STP enabled     interfaces
      installation    8000.000000000000       no
      virbr0          8000.000000000000       yes
      
      The virbr0 bridge is the default bridge used by libvirt for Network Address Translation (NAT) on the default Ethernet device.
  2. Add an interface to the new bridge

    Edit the configuration file for the interface. Add the BRIDGE parameter to the configuration file with the name of the bridge created in the previous steps.
    # Intel Corporation Gigabit Network Connection
    DEVICE=eth1
    BRIDGE=installation
    BOOTPROTO=dhcp
    HWADDR=00:13:20:F7:6E:8E
    ONBOOT=yes
    
    After editing the configuration file, restart networking or reboot.
    # service network restart
    
    Verify the interface is attached with the brctl show command:
    # brctl show
    bridge name     bridge id               STP enabled     interfaces
    installation    8000.001320f76e8e       no              eth1
    virbr0          8000.000000000000       yes
    
  3. Security configuration

    Configure iptables to allow all traffic to be forwarded across the bridge.
    # iptables -I FORWARD -m physdev --physdev-is-bridged -j ACCEPT
    # service iptables save
    # service iptables restart
    

    Disable iptables on bridges

    Alternatively, prevent bridged traffic from being processed by iptables rules. In /etc/sysctl.conf append the following lines:
    net.bridge.bridge-nf-call-ip6tables = 0
    net.bridge.bridge-nf-call-iptables = 0
    net.bridge.bridge-nf-call-arptables = 0
    
    Reload the kernel parameters configured with sysctl.
    # sysctl -p /etc/sysctl.conf
    
  4. Restart libvirt before the installation

    Restart the libvirt daemon.
    # service libvirtd reload
    
The bridge is configured, you can now begin an installation.
PXE installation with virt-install
For virt-install append the --network=bridge:installation installation parameter where installation is the name of your bridge. For PXE installations use the --pxe parameter.
Example 6.2. PXE installation with virt-install
# virt-install --hvm --connect qemu:///system \
    --network=bridge:installation --pxe\
    --name EL10 --ram=756 \
    --vcpus=4
    --os-type=linux --os-variant=rhel5
    --file=/var/lib/libvirt/images/EL10.img \

PXE installation with virt-manager
The steps below are the steps that vary from the standard virt-manager installation procedures.
  1. Select PXE

    Select PXE as the installation method.
  2. Select the bridge

    Select Shared physical device and select the bridge created in the previous procedure.
  3. Start the installation

    The installation is ready to start.
A DHCP request is sent and if a valid PXE server is found the guest installation processes will start.


  Published under the terms of the Creative Commons License Design by Interspire