Using graphics styles to format graphics
In
many situations where a presentation contains only a few graphic
objects, manual formatting can be an efficient way to change their
appearance. However, when you want to achieve consistency in the
style across the slides of your presentation (or your presentations
portfolio), or simply when you want to apply the same formatting to
a large number of objects, the best approach is to use graphics
styles.
graphics
styles are the equivalent for graphic objects to the presentation
styles for text. A graphics style groups all the formatting
attributes that a graphic object could have and associates this set
to a name, making them quickly reusable. If a style is modified (for
example, by changing the area transparency), the changes are
automatically applied to all the graphics with that style.
Using
the inheritance properties of styles also achieves professional
results in a short time. For example, if multiple lines change in
color but are otherwise identically formatted, the best way to
proceed is to define a generic style for the line and a number of
hierarchically dependent styles which only differ in the line color
attribute. If later you need to change the arrowhead style or the
thickness of the lines, it is sufficient to change the parent style
and all the other styles will change accordingly.
When
creating several presentations, a library of well-defined graphics
styles is an invaluable tool for speeding up the process of
formatting a new presentation while achieving the desired
appearance.
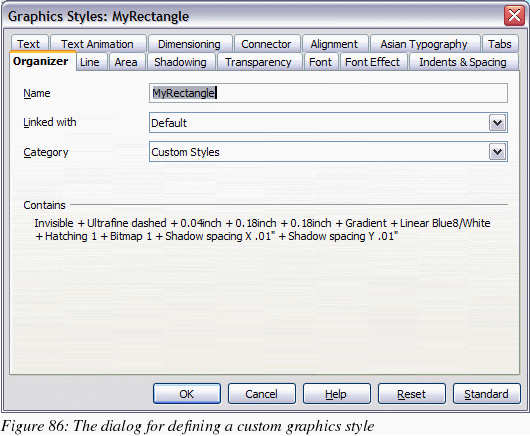
To
create a new style, follow the procedures outlined in Chapter 2. As
shown in Figure 86, the dialog to create a graphics style consists
of 15 pages.
The
Organizer page, which contains a summary of the style and its
hierarchical position, is discussed in Chapter 2.
The
Font, Font Effects, Indents & Spacing, Alignment, Tabs and
Asian typography pages, which set the properties of the text and
are shared with presentation styles, are discussed in detail in
Chapter 3.
The
Dimensioning page is used to set the style of dimension lines and
it is not normally used in presentations. For further details refer
to the Draw
Guide.
The
remaining pages (Text, Text animation, Connector, Line, Area,
Shadowing, and Transparency) contain the same options as the
dialogs for manual formatting of the Line, Area, Text and
Connectors; they are discussed in this chapter.
|
Note
|
In
most of the cases you will not need to configure the parameters
of every page; for example, to create a simple line style you
will probably only use 3 of the 15 pages.
|
To
apply a style, select the object (or objects) and click on the style
from the Styles and Formatting window. If the window is not showing,
press F11,
or click the Styles and Formatting icon at the left-hand end of the
formatting bar, or select Format
> Styles and Formatting from the menu bar. Press F11
again when the dialog is not needed, to maximize the workspace area.


