Setting up the indentation of headings
Whether or not the headings are numbered, you may want to change some of their formatting. For example, you may want the second-level and third-level headings to be indented from the margin. For numbered headings, you may also want the second line of long headings to line up with the first word of the heading, not the number. For these changes, use the Position page of the Outline Numbering dialog box.
 | The Position page for documents created in OOo3 is slightly different from the Position page for documents created in earlier versions of OOo that are opened in OOo3. This difference is provided for backwards compatibility.
|
Positioning in new OOo3 documents
The figure below shows the Position page as it appears for documents created in OOo3.
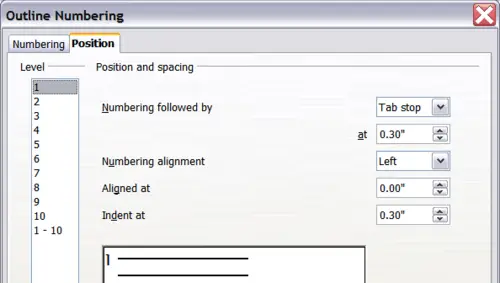
Setting up the position of level 1 headings.
- In the Level list on the left, choose 2. Change the values for Numbering followed by... at and Aligned at, as shown below.
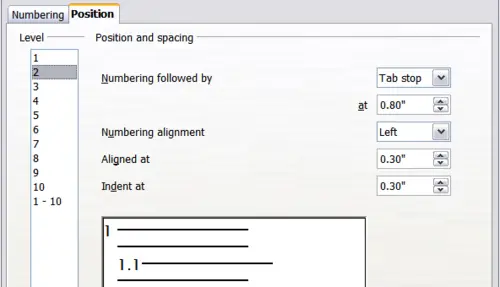
Indenting Level 2 headings.
You may want to use a different value. This indents the entire heading but does not affect the way long headings wrap around.

Result of changes to indentation of Level 2 headings
- To change the wrapping behavior of long headings, change Indent at to a larger value, as shown below.
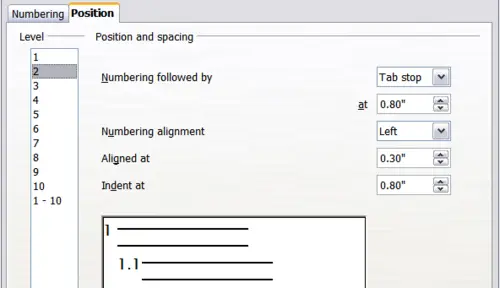
Wrapping long headings.
The result is shown below.

Result of changing Indent at value.
- In the Level list, choose 3. Change the values for Numbering followed by... at, Aligned at, and Indent at, as shown below.
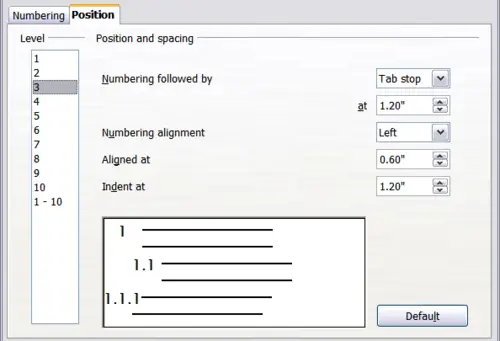
Indenting level 3 headings.
Positioning in older documents opened in OOo3
The four figures below show the Position page as it appears for documents created in earlier versions of OOo and opened in OOo3.
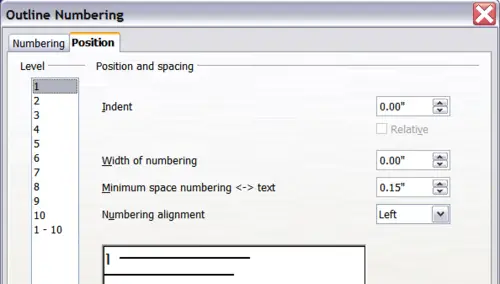
Setting up level 1 headings.
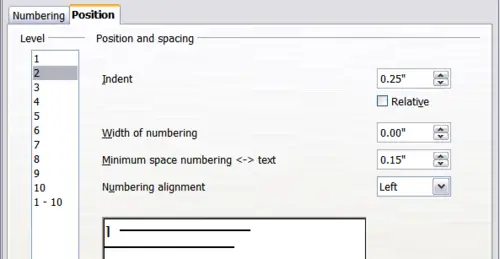
Indenting Level 2 headings.
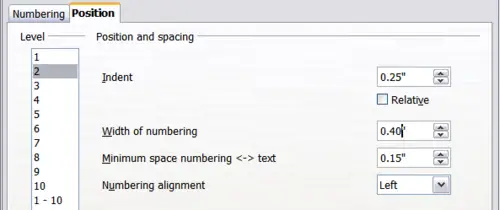
Changing the Width of numbering value to wrap long headings
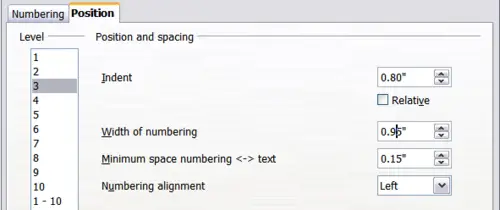
Indenting Level 3 headings.


