Editing a print range
At any time, you can directly edit the print range, for example to remove or resize part of the print range. Choose Format > Print Ranges > Edit. If you have already selected a print range, the Edit Print Ranges dialog looks something like the figure below.
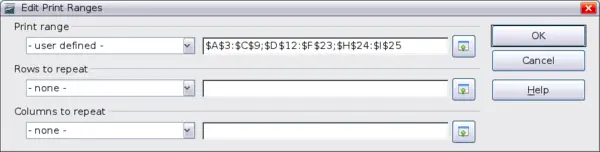
Edit a print range
In this example, three rectangles are selected, each separated by a semicolon. The first is bounded by cell A3 ($A$3) in the top left and cell C9 ($C$9) in the bottom right corners. Clicking anywhere in the text entry box shows the currently selected print range on the screen, with each rectangle in a different color, as shown below.
 After making any changes, click the Shrink icon next to the text entry box to redisplay the rectangles with their new values.
To re-expand the Edit Print Ranges dialog, click the Shrink icon again.
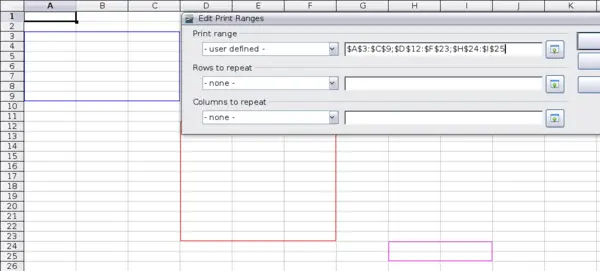
Print range marked by colored boxes


