The conventional way of ripping Audio CDs to MP3 or Ogg files is to
use a standalone program such as
iTunes
�, Winamp or KDE's own
KAudioCreator. But if we stick to conventions,
where's the fun?! So in this article, I am going to show you how to feel
elite by ripping your CDs in the, umm.. elite way. ;-)
What do we need to be cool? Vanilla KDE, without any extra
ingredients, will be able to rip your CDs. But to encode them, you'll need
to install the relevant codecs. At the moment, Ogg Vorbis, MP3 and FLAC formats
are supported. To enable encoding to these formats, you'll have to install
libogg, lame and flac respectively. How exactly you install these depends on
your distribution: take a look at their documentation to find out how.
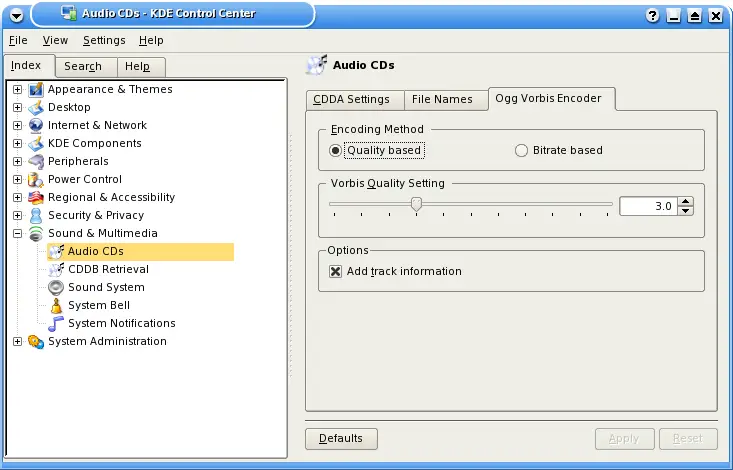
Once you have your favourite codec(s) installed, open
KDE Control Center and navigate your way to
->
and configure the settings on the various tabs to your liking. You can leave
everything in the default state if you so wish, but it's helpful to take a
look so you at least know what's on offer. Again, take a look at
->
and change anything that's not to your
liking. CDDB, in case you didn't know, stands for CD DataBase (or Compact
Disc DataBase in its more free flowing form). This functionality enables
KDE to retrieve the Artist/Album/Track information about your CDs from the
Internet. This metadata is also used to write tags to the MP3 or Ogg files
that you'll be encoding your CDs to anytime now.
Without further delay, let's get down to the business of being cool.
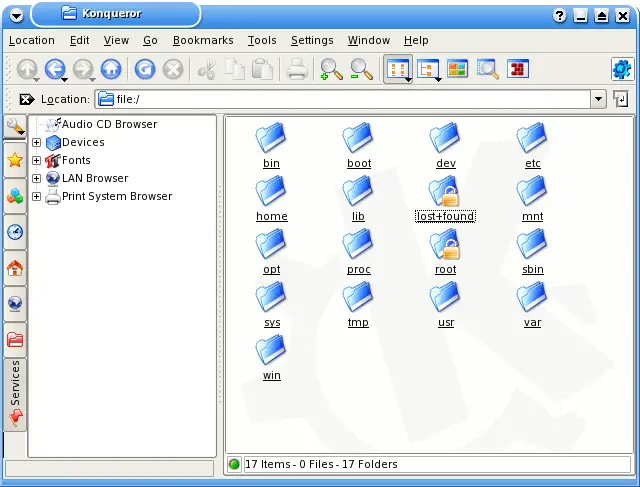
First, pop in the CD you want to rip (obviously!). Next, fire up a
Konqueror window and open the
Services
tab on the Navigation panel. The
Navigation panel sits on the left side of the window, as shown in the
screenshot below. If it's not visible, you can produce it out of thin air by
pressing the magic
F9
key.
Now click on Audio CD Browser and in a few seconds, you'll see a lot
of folders which you can start browsing. If it's taking some time to show
anything, it's because it's trying to fetch information about the CD from
the CDDB database you configured earlier.
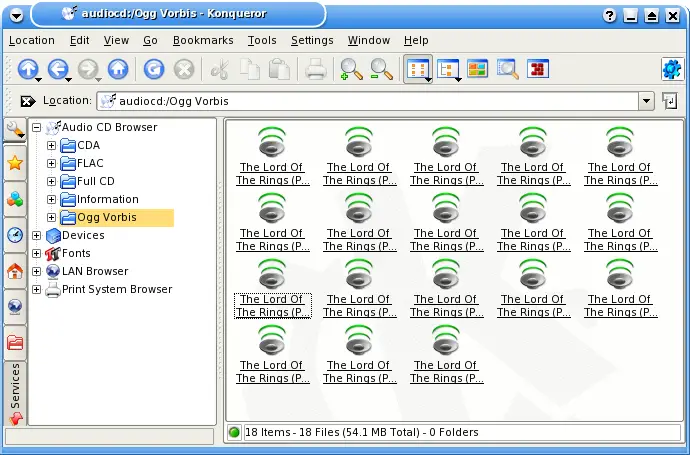
In the screenshot below, you can see the contents of the Ogg Vorbis
folder. It shows all the songs in the Ogg format; it even shows their file
size! But, you and I both know that audio CDs don't contain Ogg tracks. So
what exactly is happening here?
All the folders you see under Audio CD Browser are virtual folders.
They show contents of the CD through different filters, so to speak. When
you open the Ogg Vorbis folder, you are actually seeing the contents of the
CD
as if
it were stored in the Ogg format. You can go through the other
folders and you'll find MP3, flac and wav representations of the CD's
contents. You can even see the approximate file sizes when encoded in the
various formats.
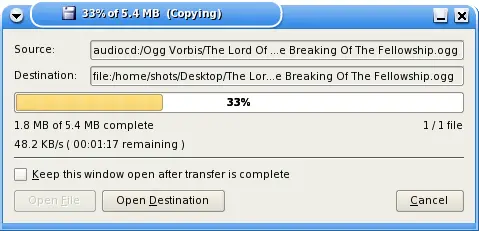
So how do we rip and encode the CD? I think you can guess the answer
by now. Just decide which format you wish to rip to, open that folder, and
copy and paste those files in your target folder. That's it! KDE will start
ripping and encoding the files on the fly! If you copy any of the files in
the
Full CD
folder, you'll be ripping the entire CD as
one continuous stream.