Digital cameras have recently grown in popularity because of their
increasing image quality and easy interaction with desktop PCs. Digital
cameras create high-quality images that allow you to send to others over
the Internet or print on a color printer. Red Hat Linux supports several brands of
digital cameras and has applications that help you access, view, and
modify your digital photographs.
12.1. Using gtKam
Red Hat Linux supports over 100 digital camera models. So, whether your
camera uses USB or serial ports to communicate with your computer, it is
likely that Red Hat Linux will support it.
gtKam is a graphical application that
allows you to interface with your digital
camera. gtKam works directly with your
digital camera, allowing you to open, view, save, and delete images
directly. You can also download the images to your computer and modify
it with image manipulation programs such as The
GIMP (refer to Chapter 11 Working with Images for more
information about image manipulation tools).
To start gtKam, choose => =>
. You can also start
gtKam by typing gtkam
at a shell prompt.
Before you begin using gtKam, you need
to configure it to work with your digital camera. From the menu,
choose => . From the pop-up dialog, you can choose your
camera from the drop-down list or let gtKam
automatically find your camera by clicking
Detect. Click Apply to
accept the changes and OK to close the dialog
box.
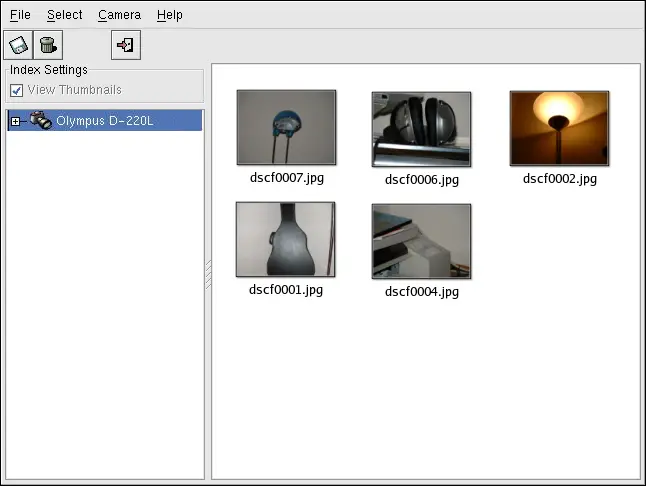
Once you have added your camera, it will be shown as an icon on
the left panel of the main gtKam
window. You only have to configure gtKam
for your camera once; the settings will be saved with each additional
use.
Directories shown below the icon may differ depending on your brand
of camera. Select the directory that commonly stores your images and the
stored images will immediately load as thumbnail images in the main
panel. From this panel, click on the images you want, which you can then
save to disk by choosing => . If you want to save all of the stored
images, choose =>
, then save the images to disk.
For more information about using gtKam,
refer to the gtKam page at the
gPhoto website:
https://gphoto.sourceforge.net/proj/gtkam/