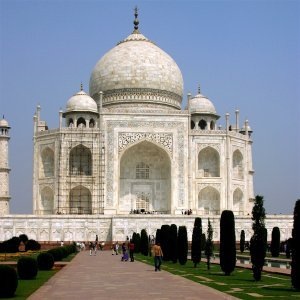
Figure 16.120. The same image, before and after applying lens effect.
Original image
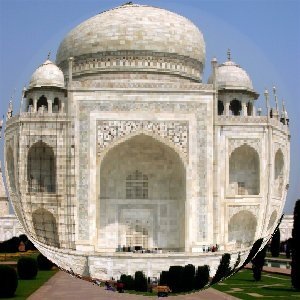
Filter “Apply lens” applied
After applying this filter, a part of the active layer is rendered as through a spherical lens.
You can find this filter in the image window menu through Filters → Light and Shadow → Apply Lens
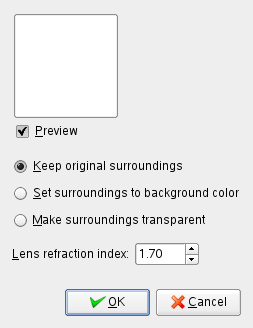
Figure 16.121. “Apply Lens” filter options
Parameter setting results are interactively displayed in preview. Scroll bars allow you to move around the image.
The lens seems to be put on the active layer.
The part of the active layer outside the lens will have the background color selected in the toolbox.
The part of the active layer outside the lens will be transparent. This option exists only if the active layer has an alpha channel.
Lens will be more or less convergent (1-100).