| |
This tool was once described as “The healing brush looks like a
smart clone tool on steroids”. And indeed the Healing Tool is a
close relative to the Clone Tool, but it is more smart to remove small
failures in images. A typical usage is the removal of wrinkles in
photographs. To do so, pixels are not simply copied from source to
destination, but the area around the destination is taken into account
before cloning is applied. The algorithm used for this, is described in
a scientific paper by Todor Georgiev
[GEORGIEV01].
To use it, first choose a brush with a size adapted to the defect. Then
Ctrl-click on the area you want to reproduce. Release the
Ctrl key and drag the sample to the defect. Click. If the
defect is slight, not very
different from its surrounding, it will be corrected as soon. Else, you
can correct it with repeated clicks, but with a risk of daubing
3.11.1. Activating the Tool
There are different possibilities to activate the tool:
-
From the image-menu:
→ → ,
-
or by clicking the tool icon:
 in the Toolbox,
-
or by clicking on the H keyboard shortcut.
3.11.2. Key modifiers (Defaults)
-
Ctrl
-
The Ctrl key is used to select the source. You can heal from any
layer of any image, by clicking on the image display, with the
Ctrl key held down, while the layer is active (as shown in the
Layers dialog). If Alignment is set to “Non-aligned”
or “Aligned” in Tool Options, then the point you
click on becomes the origin for healing: the image data at that
point will be used when you first begin painting with the Heal
tool. In source-selection mode, the cursor changes to a
crosshair-symbol.
-
Shift
-
Once the source is set, if you press this key, you will see a
thin line connecting the previously clicked point with the current
pointer location. If you click again, while going on holding
the Shift key down, the tool will
“heal” along this line.
Normally, tool options are displayed in a window attached under the
Toolbox as soon as you activate a tool. If they are not, you can access
them from the image menu bar through
→ → which opens the option window of the selected tool.
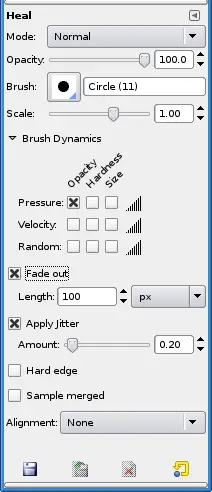
-
Mode; Opacity; Brush; Scale; Brush Dynamics, Fade out, Apply Jitter,
Hard Edges
-
![[Note]](images/note.png)
|
Note |
|
See the Brush Tools
Overview for a description of tool options that apply to many or
all brush tools.
|
-
Sample merged
-
If you enable this option, healing is not calculated only
from the values of the active layer, but from all visible layers.
-
Alignment
-
This option is described in Clone
tool.
3.11.4. Healing is not cloning
Although the Heal tool has common features with the Clone tool on using,
the result is quite different.
|
|