Creating a table
As it is usual when working with tables it pays to have already in mind an idea of the required number of rows and columns as well as the look and feel. Although all the parameters can be adjusted later, this procedure is far more laborious than setting the correct table dimensions from the very beginning. To create a table proceed as follows:
- Position the slide which will contain the table in the workarea. If necessary modify the slide layout in order to reserve the place for the table.
- If the task pane is already open select Table Design. If the task pane is not visible, select View > Task pane, then select the Table Design task.
- Select one of 11 predefined styles. You will be able to change the color scheme later on, however again, it is recommended that you select a color scheme similar to the one you want to obtain. Selecting a style opens the dialog box below, where you can specify the number of rows and columns.
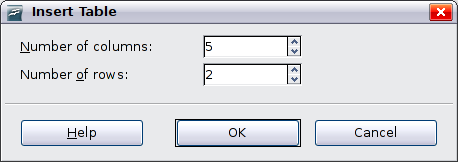
Insert Table dialog box
The table is placed at the center of the slide, but you can move it wherever it is more convenient by selecting it then dragging it in the new position or by using the method described in “Position and size”.
You can also create a table directly by selecting Insert > Table from the main menu: the default style and settings are applied to the newly created table.


