Red Hat Enterprise Linux 9 Essentials Book now available.
Purchase a copy of Red Hat Enterprise Linux 9 (RHEL 9) Essentials
Red Hat Enterprise Linux 9 Essentials Print and eBook (PDF) editions contain 34 chapters and 298 pages
11.2. Installing the KVM Windows para-virtualized drivers
This section covers the installation process for the KVM Windows para-virtualized drivers. The KVM para-virtualized drivers can be loaded during the Windows installation or installed after the guest is installed.
You can install the para-virtualized drivers on your guest by one of the following methods:
hosting the installation files on a network accessible to the guest,
using a virtualized CD-ROM device of the driver installation disk .iso file, or
using a virtualized floppy device to install the drivers during boot time (for Windows guests).
This guide describes installation from the para-virtualized installer disk as a virtualized CD-ROM device.
Download the drivers
The virtio-win package contains the para-virtualized block and network drivers for all supported Windows guests.
Download the virtio-win package with the yum command.
# yum install virtio-win
The drivers are also from Microsoft (windowsservercatalog.com). Note that the Red Hat Enterprise Virtualization Hypervisor and Red Hat Enterprise Linux are created on the same code base so the drivers for the same version (for example, Red Hat Enterprise Virtualization Hypervisor 2.2 and Red Hat Enterprise Linux 5.5) are supported for both environments.
The virtio-win package installs a CD-ROM image, virtio-win.iso, in the /usr/share/virtio-win/ directory.
Install the para-virtualized drivers
It is recommended to install the drivers on the guest before attaching or modifying a device to use the para-virtualized drivers.
For block devices storing root file systems or other block devices required for booting the guest, the drivers must be installed before the device is modified. If the drivers are not installed on the guest and the driver is set to the virtio driver the guest will not boot.
11.2.1. Installing the drivers on an installed Windows guest
This procedure covers installing the para-virtualized drivers with a virtualized CD-ROM after Windows is installed.
Procedure 11.1. Installing from the driver CD-ROM image with virt-manager
Open virt-manager and the guest
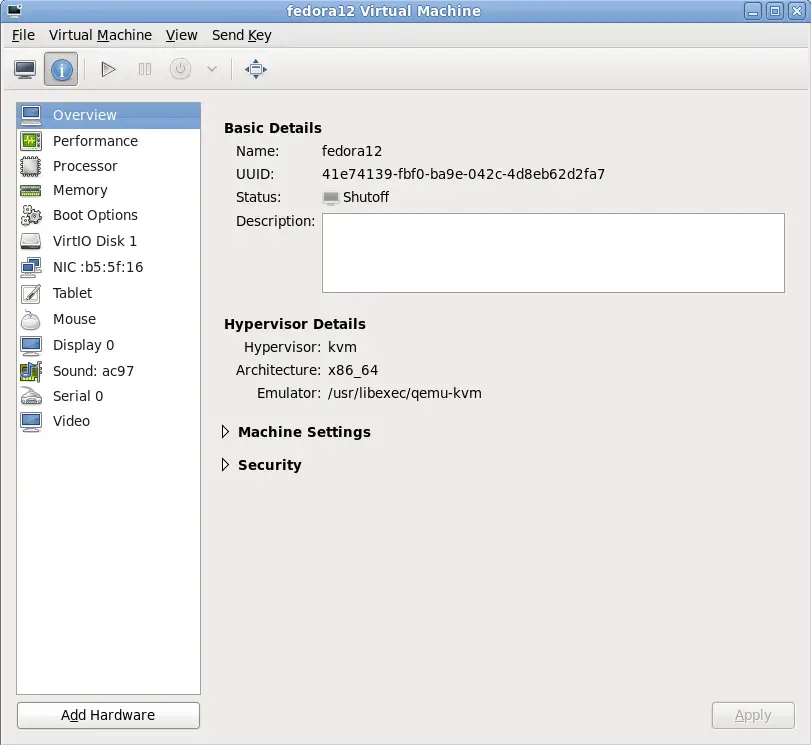
Open virt-manager, select your virtualized guest from the list by double clicking the guest name.
Open the hardware window
Click the blue Information button at the top to view guest details. Then click the Add Hardware button at the bottom of the window.
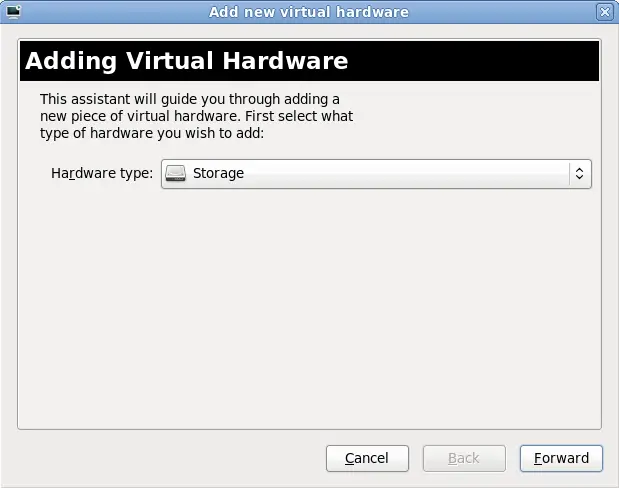
Select the device type
This opens a wizard for adding the new device. Select Storage from the dropdown menu.
Click the Forward button to proceed.
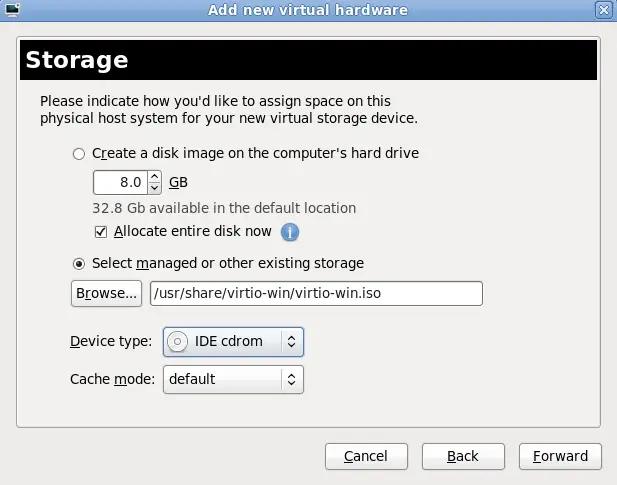
Select the ISO file
Select Select managed or other existing storage and set the file location of the para-virtualized drivers .iso image file. The default location for the latest version of the drivers is /usr/share/virtio-win/virtio-win.iso.
Change the Device type to IDE cdrom and click the Forward button to proceed.
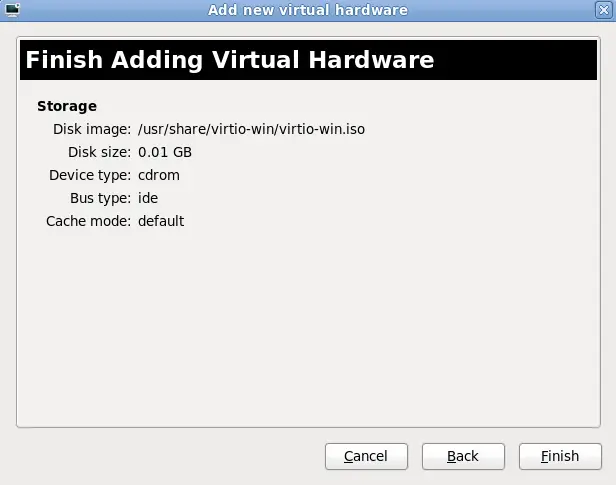
Finish adding virtual hardware
Press the Finish button to complete the wizard.
Reboot
Reboot or start the guest to begin using the driver disc. Virtualized IDE devices require a restart to for the guest to recognize the new device.
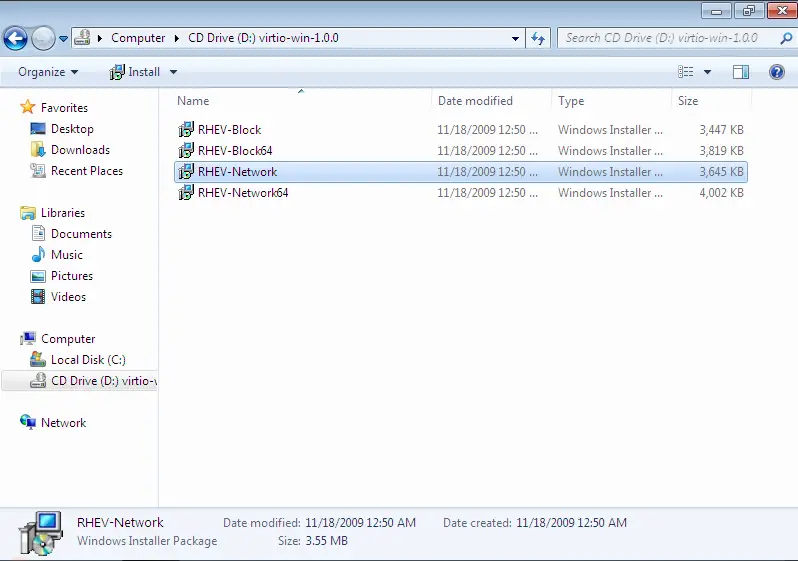
On the Windows guest, open My Computer and select the CD-ROM drive.
Select the correct installation files
There are four files available on the disc. Select the drivers you require for your guest's architecture:
the para-virtualized block device driver (RHEV-Block.msi for 32-bit guests or RHEV-Block64.msi for 64-bit guests),
the para-virtualized network device driver (RHEV-Network.msi for 32-bit guests or RHEV-Block64.msi for 64-bit guests),
or both the block and network device drivers.
Double click the installation files to install the drivers.
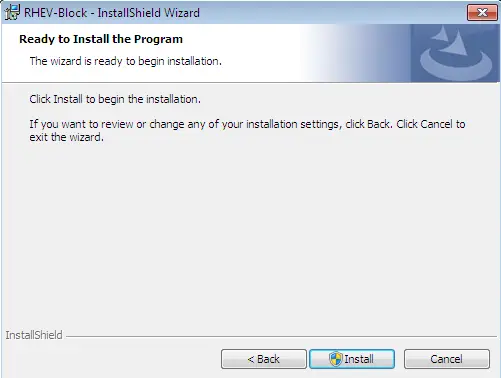
Install the block device driver
Start the block device driver installation
Double click RHEV-Block.msi or RHEV-Block64.msi.
Press Install to continue.
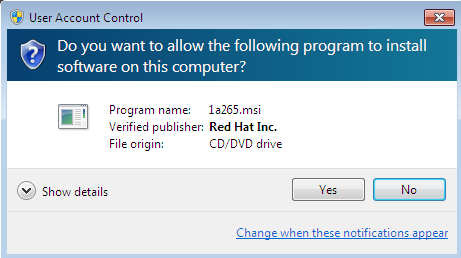
Confirm the exception
Windows may prompt for a security exception.
Press Yes if it is correct.
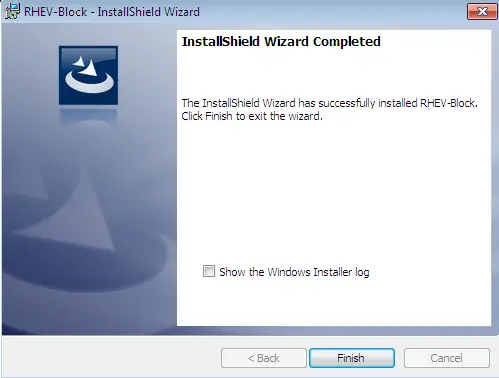
Finish
Press Finish to complete the installation.
Install the network device driver
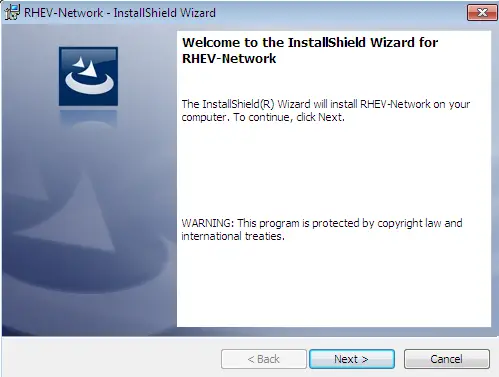
Start the network device driver installation
Double click RHEV-Network.msi or RHEV-Network64.msi.
Press Next to continue.
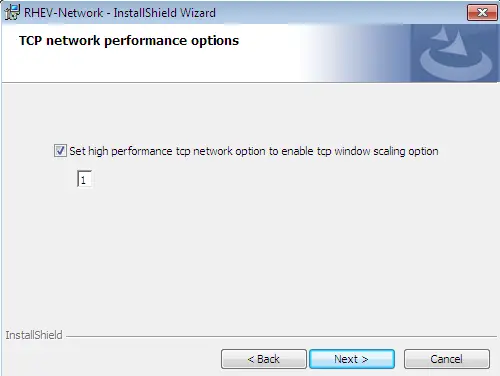
Performance setting
This screen configures advanced TCP settings for the network driver. TCP timestamps and TCP window scaling can be enabled or disabled. The default is, 1, for window scaling to be enabled.
TCP window scaling is covered by IETF RFC 1323. The RFC defines a method of increasing the receive window size to a size greater than the default maximum of 65,535 bytes up to a new maximum of 1 gigabyte (1,073,741,824 bytes). TCP window scaling allows networks to transfer at closer to theoretical network bandwidth limits. Larger receive windows may not be supported by some networking hardware or operating systems.
TCP timestamps are also defined by IETF RFC 1323. TCP timestamps are used to better calculate Return Travel Time estimates by embedding timing information is embedded in packets. TCP timestamps help the system to adapt to changing traffic levels and avoid congestion issues on busy networks.
Value
Action
0
Disable TCP timestamps and window scaling.
1
Enable TCP window scaling.
2
Enable TCP timestamps.
3
Enable TCP timestamps and window scaling.
Press Next to continue.
Confirm the exception
Windows may prompt for a security exception.
Press Yes if it is correct.
Finish
Press Finish to complete the installation.
Reboot
Reboot the guest to complete the driver installation.