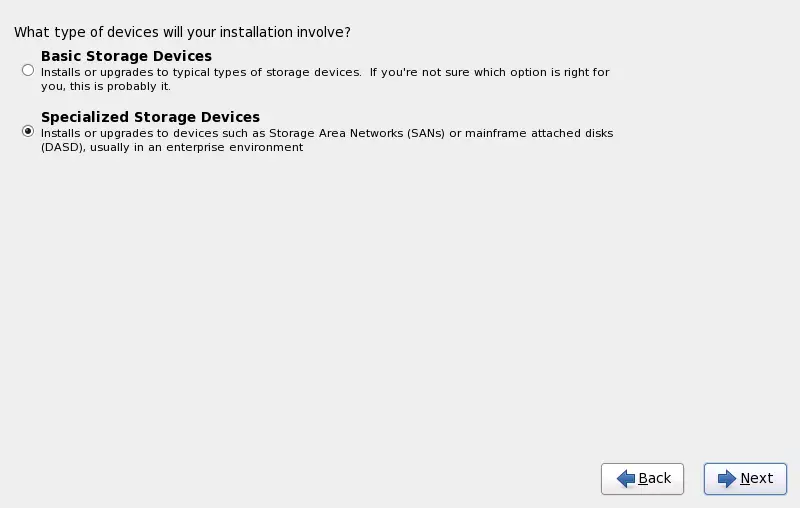
You can install Red Hat Enterprise Linux on a large variety of storage devices. For System z, select
23.6.1. The Storage Devices Selection Screen
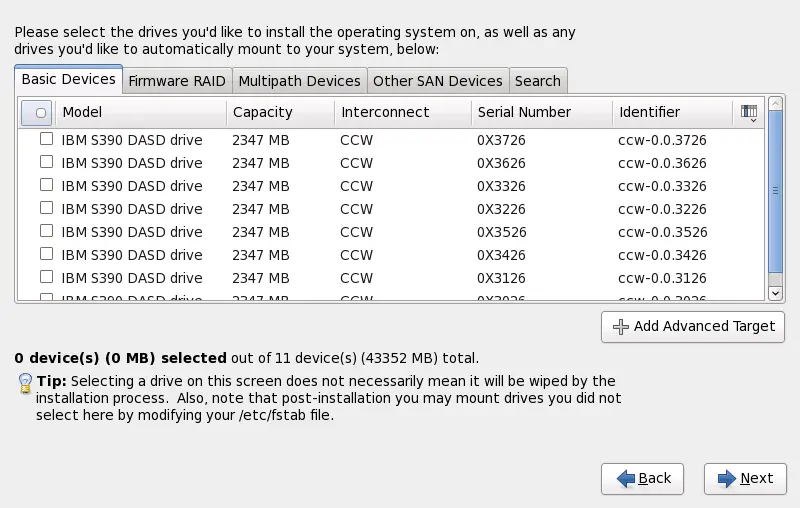
The storage devices selection screen displays all storage devices to which anaconda has access.
Devices are grouped under the following tabs:
- Basic Devices
-
Basic storage devices directly connected to the local system, such as hard disk drives and solid-state drives. On System z, this contains activated DASDs.
- Firmware RAID
-
Storage devices attached to a firmware RAID controller. This does not apply to System z.
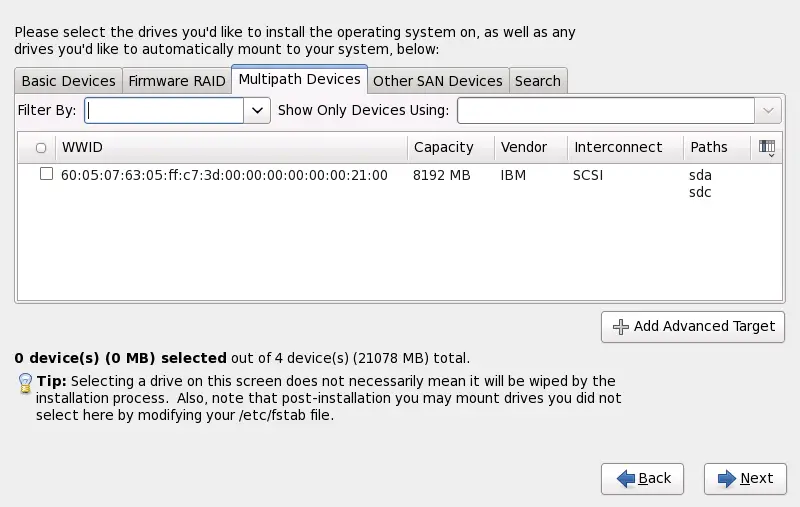
- Multipath Devices
-
Storage devices accessible through more than one path, such as through multiple SCSI controllers or Fiber Channel ports on the same system.
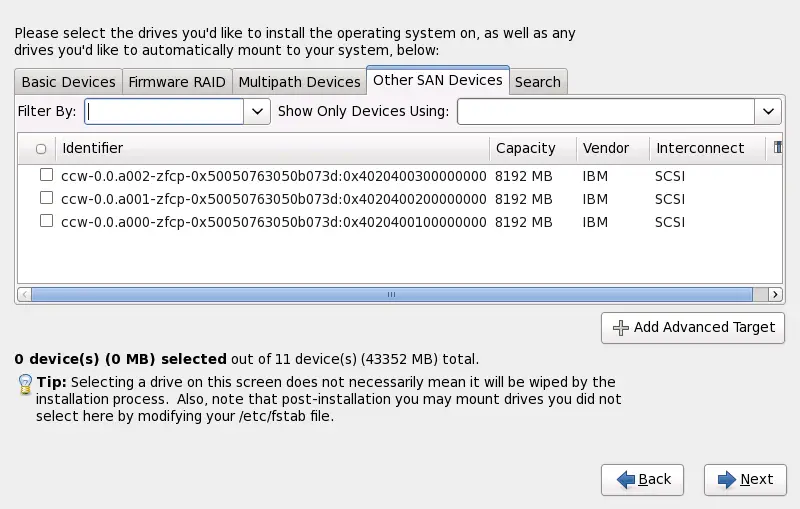
- Other SAN Devices
-
Any other devices available on a storage area network (SAN) such as FCP LUNs attached over one single path.
The storage devices selection screen also contains a Search tab that allows you to filter storage devices either by their World Wide Identifier (WWID) or by the port, target, or logical unit number (LUN) at which they are accessed.
The tab contains a drop-down menu to select searching by port, target, WWID, or LUN (with corresponding text boxes for these values). Searching by WWID or LUN requires additional values in the corresponding text box.
Each tab presents a list of devices detected by anaconda, with information about the device to help you to identify it. A small drop-down menu marked with an icon is located to the right of the column headings. This menu allows you to select the types of data presented on each device. For example, the menu on the Multipath Devices tab allows you to specify any of , , , , and to include among the details presented for each device. Reducing or expanding the amount of information presented might help you to identify particular devices.
Each device is presented on a separate row, with a checkbox to its left. Click the checkbox to make a device available during the installation process, or click the radio button at the left of the column headings to select or deselect all the devices listed in a particular screen. Later in the installation process, you can choose to install Red Hat Enterprise Linux onto any of the devices selected here, and can choose to automatically mount any of the other devices selected here as part of the installed system.
Note that the devices that you select here are not automatically erased by the installation process. Selecting a device on this screen does not, in itself, place data stored on the device at risk. Note also that any devices that you do not select here to form part of the installed system can be added to the system after installation by modifying the /etc/fstab file.
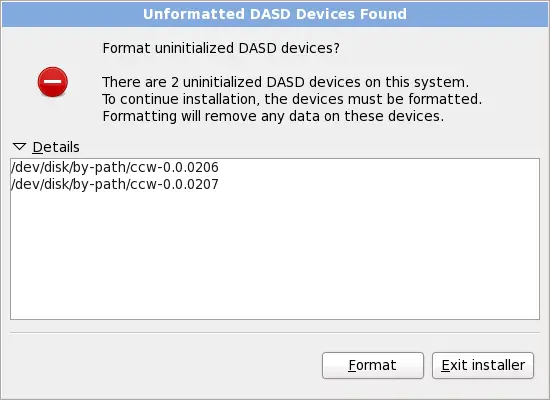
23.6.1.1. DASD low-level formatting
Any DASDs used must be low-level formatted. The installer detects this and lists the DASDs that need formatting.
If any of the DASDs specified interactively in linuxrc or in a parameter or configuration file are not yet low-level formatted, the following confirmation dialog appears:
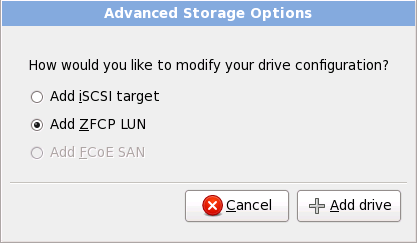
23.6.1.2. Advanced Storage Options
From this screen you can configure an
iSCSI (SCSI over TCP/IP) target or FCP LUNs. Refer to
Appendix B, ISCSI disks for an introduction to iSCSI.
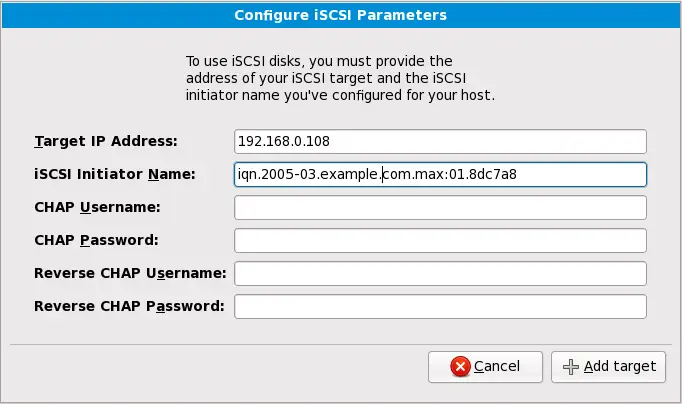
23.6.1.2.1. Configure iSCSI Parameters
To configure an ISCSI target invoke the 'Configure ISCSI Parameters' dialog by selecting 'Add ISCSI target' and clicking on the 'Add Drive' button. Fill in the details for the ISCSI target IP and provide a unique ISCSI initiator name to identify this system. If the ISCSI target uses CHAP (Challenge Handshake Authentication Protocol) for authentication, enter the CHAP username and password. If your enviroment uses 2-way CHAP (also called "Mutual CHAP"), also enter the reverse CHAP username and password. Click the 'Add target' button to attempt connection to the ISCSI target using this information.
Note that you will be able to reattempt with a different ISCSI target IP should you enter it incorrectly, but to change the ISCSI initiator name you will need to restart the installation.
FCP devices enable IBM System z to use SCSI devices rather than, or in addition to, DASD devices. FCP devices provide a switched fabric topology that enables System z systems to use SCSI LUNs as disk devices in addition to traditional DASD devices.
IBM System z requires that any FCP device be entered manually (either in the installation program interactively, or specified as unique parameter entries in the parameter or CMS configuration file) for the installation program to activate FCP LUNs. The values entered here are unique to each site in which they are set up.
Notes
-
Interactive creation of an FCP device is only possible in graphical mode. It is not possible to interactively configure an FCP device in a text-only install.
-
Each value entered should be verified as correct, as any mistakes made may cause the system not to operate properly. Use only lower-case letters in hex values.
-
For more information on these values, refer to the hardware documentation check with the system administrator who set up the network for this system.
To configure a Fiber Channel Protocol SCSI device, select Add ZFCP LUN and click Add Drive. In the Add FCP device dialog, fill in the details for the 16-bit device number, 64-bit World Wide Port Number (WWPN) and 64-bit FCP LUN. Click the Add button to connect to the FCP device using this information.
The newly added device should then be present and usable in the storage device selection screen on the Multipath Devices tab, if you have activated more than one path to the same LUN, or on Other SAN Devices, if you have activated only one path to the LUN.
The installer requires the definition of a DASD. For a SCSI-only installation, enter none as the parameter interactively during phase 1 of an interactive installation, or add DASD=none in the parameter or CMS configuration file. This satisfies the requirement for a defined DASD parameter, while resulting in a SCSI-only environment.
When you define the DASD as none, you receive an error message such as:
Incorrect format for lower bound of DASD range none: none
It is safe to disregard this error message; installation proceeds as normal.