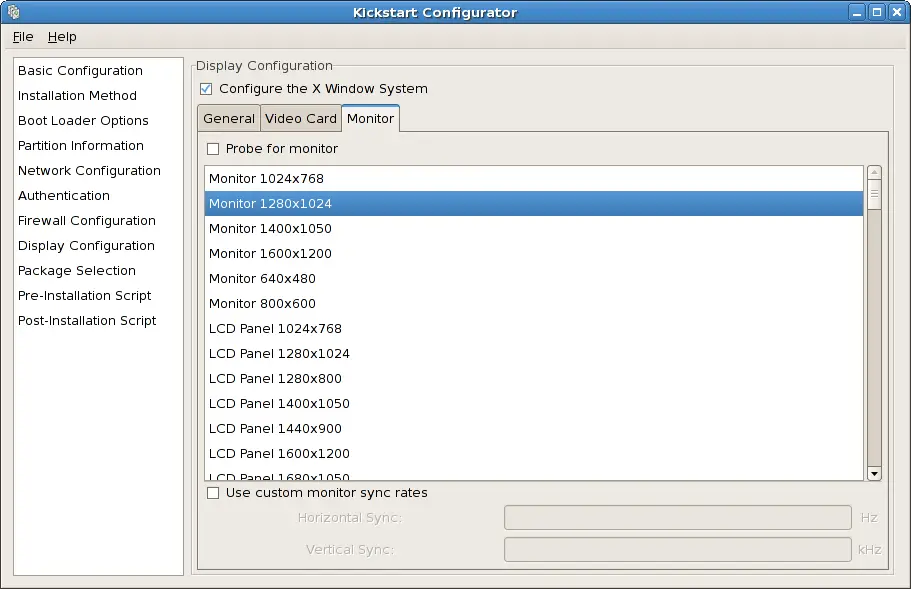
Follow Techotopia on Twitter

On-line Guides
All Guides
eBook Store
iOS / Android
Linux for Beginners
Office Productivity
Linux Installation
Linux Security
Linux Utilities
Linux Virtualization
Linux Kernel
System/Network Admin
Programming
Scripting Languages
Development Tools
Web Development
GUI Toolkits/Desktop
Databases
Mail Systems
openSolaris
Eclipse Documentation
Techotopia.com
Virtuatopia.com
Answertopia.com

How To Guides
Virtualization
General System Admin
Linux Security
Linux Filesystems
Web Servers
Graphics & Desktop
PC Hardware
Windows
Problem Solutions
Privacy Policy


Red Hat Enterprise Linux 9 Essentials Book now available.

Purchase a copy of Red Hat Enterprise Linux 9 (RHEL 9) Essentials

Red Hat Enterprise Linux 9 Essentials Print and eBook (PDF) editions contain 34 chapters and 298 pages

Preview Book

31.8.3. Monitor

After configuring the video card, click on the Monitor tab as shown in Figure 31.13, “X Configuration - Monitor”.
X Configuration - Monitor
X Configuration for Kickstart
Figure 31.13. X Configuration - Monitor

Probe for monitor is selected by default. Accept this default to have the installation program probe for the monitor during installation. Probing works for most modern monitors. If this option is selected and the installation program cannot successfully probe the monitor, the installation program stops at the monitor configuration screen. To continue the installation process, select your monitor from the list and click Next .
Alternatively, you can select your monitor from the list. You can also specify the horizontal and vertical sync rates instead of selecting a specific monitor by checking the Specify hsync and vsync instead of monitor option. This option is useful if the monitor for the system is not listed. Notice that when this option is enabled, the monitor list is disabled.


  Published under the terms of the GNU General Public License Design by Interspire