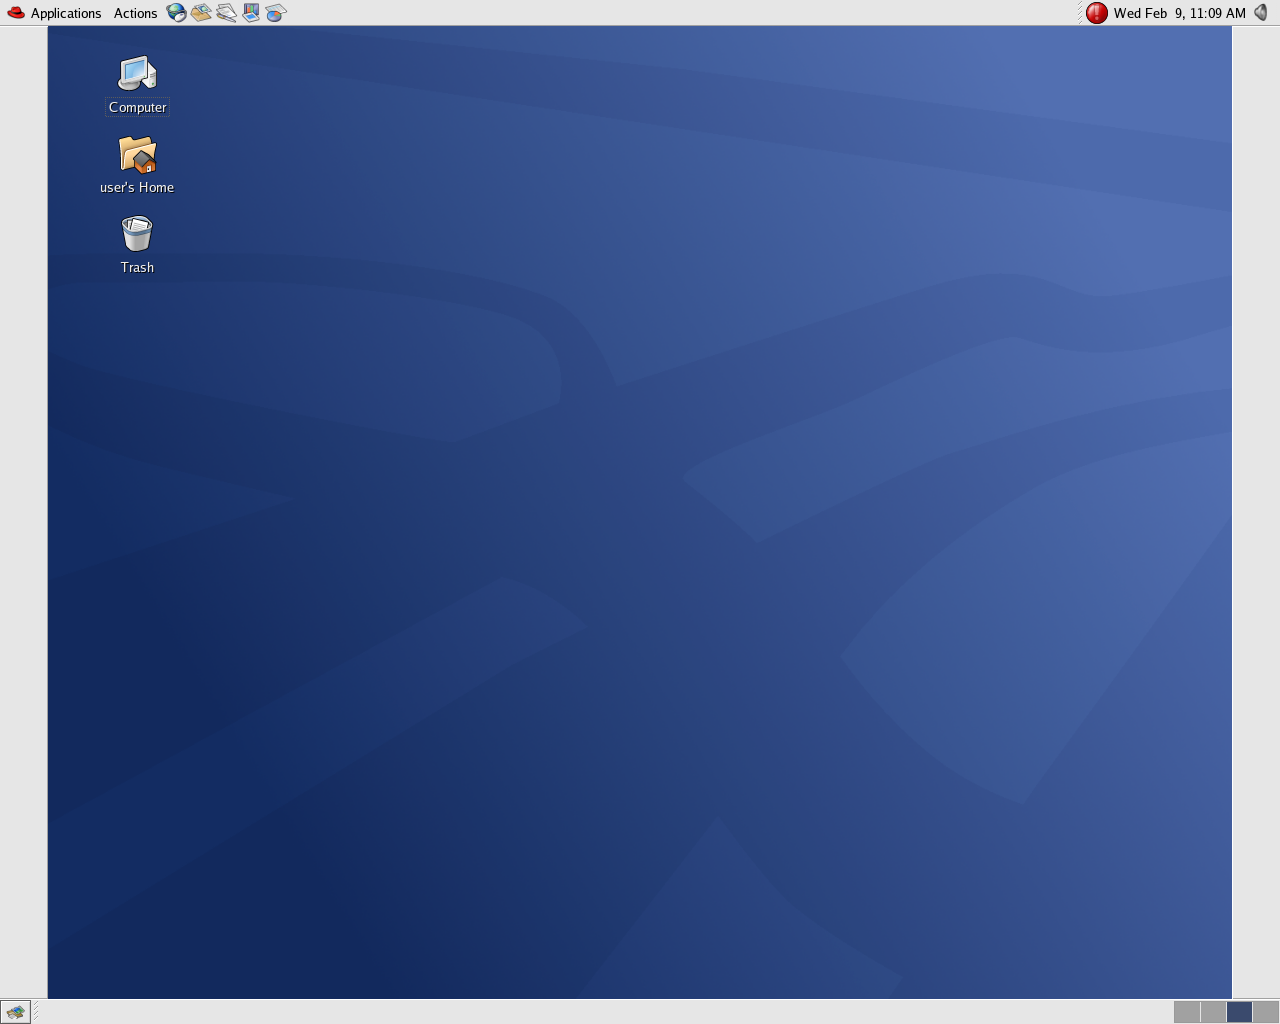
2.3. Using the Panel
The long gray bars across the top and bottom of the screen are
the Panels.
The top Panel contains both the
Applications and
Actions menus. It also contains
application launchers, the notification area, and the time and
date.
The bottom Panel contains the
Workspace Switcher and the
Taskbar.
Both can contain applets - small
applications that generally run only on the panel. Applets
handle simple tasks like controlling sound volume and displaying
the status of your system.
The Panels are independently
configurable. To alter the default settings, right-click in an
unused area of the Panel you wish to
alter and select Configure Panel. This
allows you to change the color, size, and position of the
Panel. You may also choose to hide
the Panel automatically or manually.
If you choose to hide the Panel, it
does not appear on the desktop until your mouse pointer hovers
over the Panel area.
Application launchers may be moved between the
Panel and the
Desktop. Dragging and dropping
application launchers from the
Desktop to the
Panel (or from the
Panel to the
Desktop) creates a copy of the
launcher in the new location rather than moving it. In general,
applets may not be copied from the
Panel to the
Desktop.
2.3.1. Standard Applets
There are a few applets that run on the panels by default.
These important applets are covered in the following sections.
2.3.1.1. Workspace Switcher
The graphical desktop allows for the use of multiple
workspaces. Workspaces are virtual
desktops — each workspace has the same background,
panel, and desktop shortcuts. Using the workspaces allows
you to separate your applications and avoid a cluttered
desktop area. Using workspaces can also organize your work
flow. For example, some users will choose one workspace for
potential distractions like email and instant messagers and
choose another workspace for their office applications. This
allows them to ignore the distractions until they are ready
for a break.
The Workspace Switcher represents
the workspaces as small squares and shows the applications
running on each. Clicking on one of the squares moves you
to that desktop. By right-clicking on the
Workspace Switcher and choosing
, you can configure
your workspaces. You can have up to thirty-six, although
few people use that many. You may also want to name your
workspaces. Double-click on any of the Workspace
names and type in the new name. Click the
OK button to save your changes and
exit.
2.3.1.2. Taskbar
Next to the Workspace Switcher is
the Taskbar. The
Taskbar is an applet that shows
you the titles of running applications on any one virtual
desktop. This is helpful if you decide to minimize an
application, as it seems to disappear from the desktop. Once
it disappears, you can bring it back by clicking on its
title in the Taskbar.
2.3.1.3. Notification Area
 | Tip |
|---|
| | If you cannot see any of the notification icons, then the
notification area was removed from the desktop panel. To
add it back to your panel, right-click on the panel and
choose When the new
window opens, select Notification
Area.
|
- Red Hat Network Alert Notification
Tool
Part of the Notification
Area, the Red Hat Network
Alert Notification Tool provides you
with an easy way to make sure your system is
up-to-date with current errata and security updates
from Red Hat Network. The applet displays different icons to
indicate whether your system is fully updated: a red
exclamation point indicates that there are updates
available, and a green check mark indicates that your
system is up-to-date. Double-click on either icon to
launch the Red Hat Update
Agent. If you are not registered with
Red Hat Network, the registration component launches.
Right-click on the applet icon for a list of options
from which to choose.
If the icon is missing from the
Notification Area, open the
Applications menu and
select =>
.
- The Authentication Icon
The key icon that is sometimes displayed in the
Notification Area is a
security notification. It is displayed whenever you
have gained root authentication for your system (such
as running a graphical system configuration tool). It
disappears when the authentication times out.
- Printer Notification Icon
The Printer Notification Icon
allows you to manage your print jobs. Click on the
icon to view running print jobs, and cancel jobs by
right-clicking on the job and selecting
Cancel. The Printer
Notification Icon only appears during an
active print job. If the print job you have is small,
you may not see the icon appear.
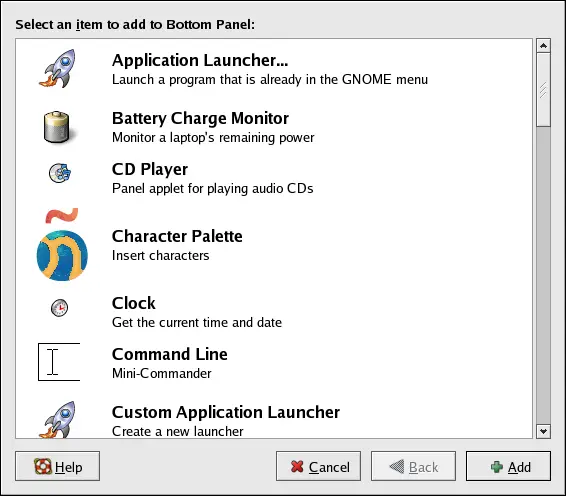
2.3.2. Adding Applets and Application Launchers
You may add more applets and launcher icons to either
Panel in order to suit your needs.
Right-click in an unused area of a
Panel and select . This opens a window that allows you
to choose either an applet or an application launcher.
Clicking once on an icon navigates through the list of
applications, and double-clicking adds an application to the panel. Figure 2-13 shows the
Panel with the Weather
Report added to show the current local weather
and temperature.
Individual applets may also be configured. By right-clicking
on any applet icon on the Panel,
you are given a short menu that includes
. These preferences are
different for each applet.
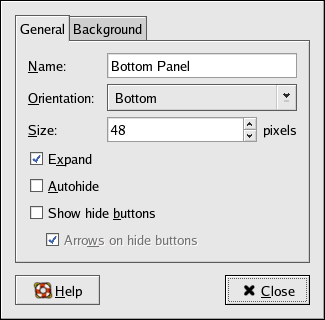
2.3.3. Configuring the Panel
You can hide the panel automatically or manually, place it on
any edge of your desktop, change its size and color, and
change the way it behaves. To alter the default panel
settings, right-click in an unused area of the panel and
select . If you choose to
hide the panel, it does not appear on the desktop until you
move your mouse pointer over the panel area.
2.3.4. Adding Additional Panels
It may at times be convenient to have additional
Panels. It is easy to add as many
panels to your desktop as fits on the screen. Right-click on
an unused area of the existing panel and choose
. A blank panel is placed
on the Desktop. Once it has been
created, the steps above allow you to configure it and to
place on it whatever applets and applications you like.