2.2 Setting Up Graphics Card and Monitor
After the installation you can change the configuration of your graphics
system (graphics card and monitor) according to your needs. Such a change
can be necessary because of accessibility issues or hardware upgrades.
Change the resolution, if fonts are too small or if circles appear
misshapen:
-
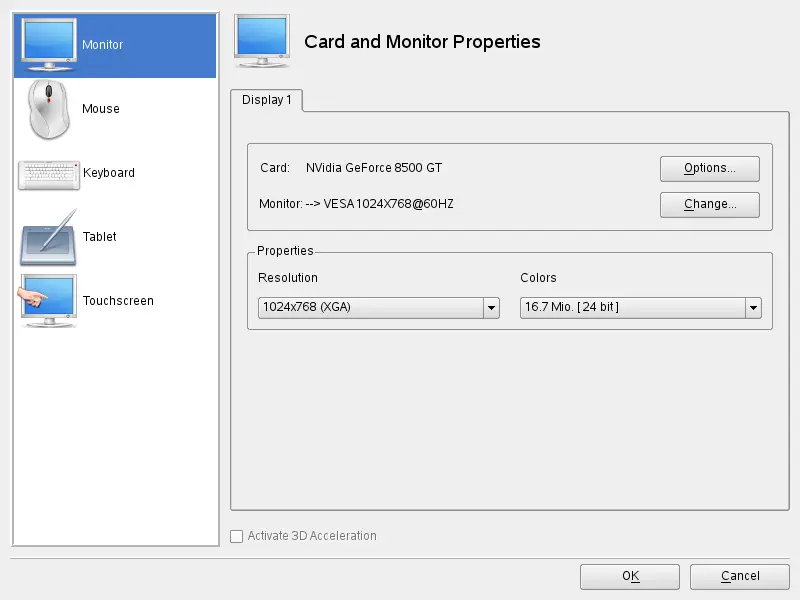
In YaST, click . SaX2 checks
the system resources and displays the dialog.
-
Make sure the monitor is properly detected. If not, use
to select the appropriate model from the list.
-
Now select an appropriate .
-
Test the new configuration before it is applied to the system. Click
and either or the
configuration.
WARNING: Changing Monitor Frequencies
Although there are safety mechanisms, you should still be very careful
when manually changing the allowed monitor frequencies. Incorrect values
might destroy your monitor. Always refer to the monitor's manual before
changing frequencies.
To activate a second monitor, proceed as follows:
-
In YaST, click . SaX2 checks
the system resources and displays the dialog.
-
Make sure the monitor is properly detected. If not, use
to select the appropriate model from the list.
-
Now enable and click
for further tuning.
-
Make sure the second monitor is properly detected. If not, use
to select the appropriate model from the list.
-
Decide whether you want to use the second monitor in or in mode and
click .
-
Test the new configuration before it is applied to the system. Click
and either or the
configuration.
NOTE: Restarting the X Server
Any changes you make here take effect only after you restart the X
server. If you want to restart the X server now, log out from the
graphical system and log in again.