Impress offers many different options for formatting the fill of an area.
- Start by selecting the object to which the formatting will be applied.
- When the resizing handles appear, select Format > Area from the menu bar. The dialog shown below is displayed.
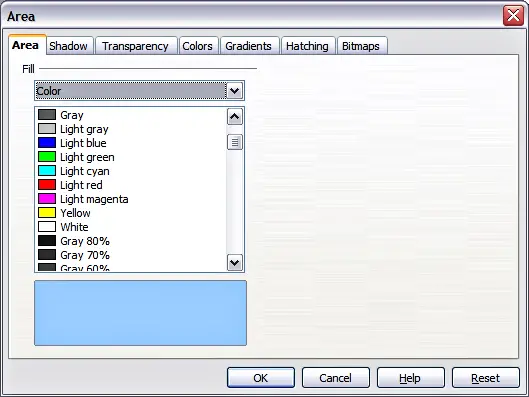
Area page of the area formatting dialog.
- Select the desired type of fill from the drop-down list. The Area page changes to display the choices available for that fill style, as described on the following pages.
- Select the required fill and its parameters, and then click OK to close the dialog and apply your selection.
Picking the type of fill from the five available choices (None, Color, Gradient, Hatching, and Bitmap) modifies the entries in the list below and makes some new options appear in the Area page. The list is populated with the default choices for the selected fill type. If none of the choices is satisfactory, you can fully customize the fill by using the page with the corresponding name in the same dialog.


