Follow Techotopia on Twitter

On-line Guides
All Guides
eBook Store
iOS / Android
Linux for Beginners
Office Productivity
Linux Installation
Linux Security
Linux Utilities
Linux Virtualization
Linux Kernel
System/Network Admin
Programming
Scripting Languages
Development Tools
Web Development
GUI Toolkits/Desktop
Databases
Mail Systems
openSolaris
Eclipse Documentation
Techotopia.com
Virtuatopia.com
Answertopia.com

How To Guides
Virtualization
General System Admin
Linux Security
Linux Filesystems
Web Servers
Graphics & Desktop
PC Hardware
Windows
Problem Solutions
Privacy Policy


Chapter�2.�A Step-By-Step Tutorial

Neil Lucock

Krishna Tateneni

Anne-Marie Mahfouf

In this chapter, KPresenter is introduced using a simple tutorial. We shall walk through the most basic steps that are involved in creating a presentation, and adding some basic effects.

Start a new document

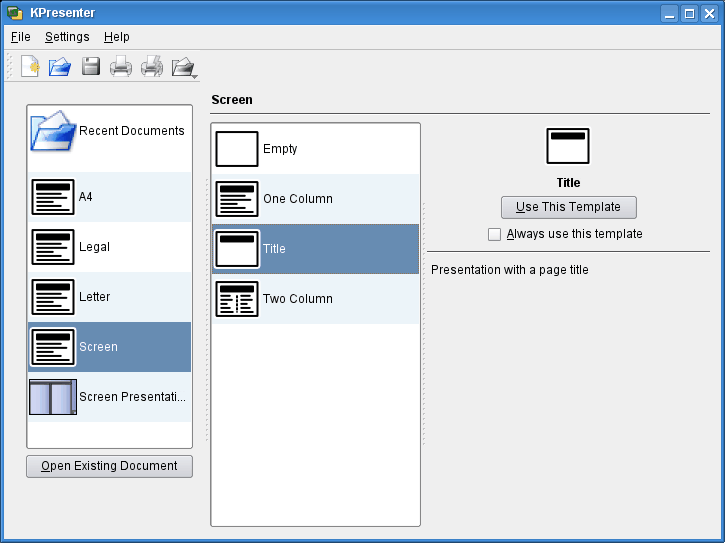
When you start KPresenter, the usual KOffice startup dialog appears.


The KOffice startup dialog

Select Screen on the left then select the template labeled Title (highlighted in blue in the screenshot above) by clicking on it. You can check Always use this template to make it the default template.
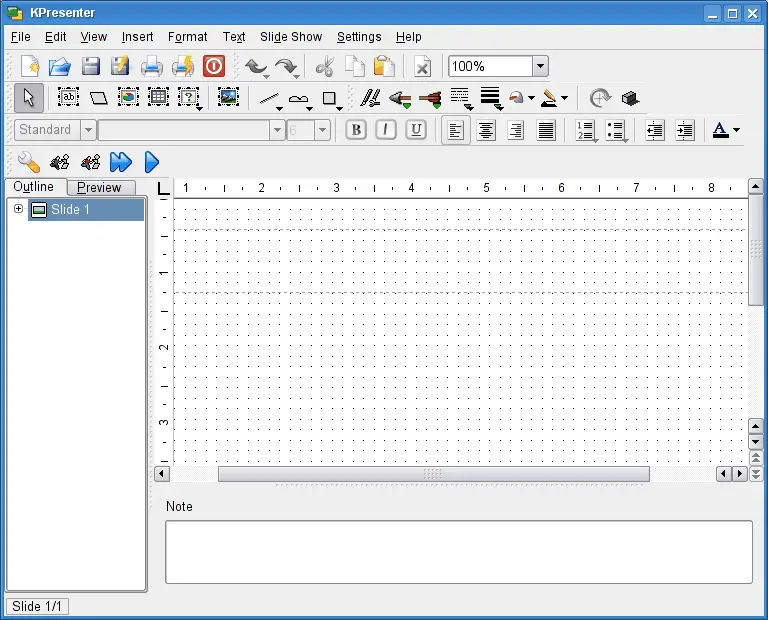
Now click Use This Template . This brings up the slide editor window, where you can view and edit the slides (and objects contained in them) in your document. At the moment, we just have one slide, with one object on it, which is a text box.


The slide editor

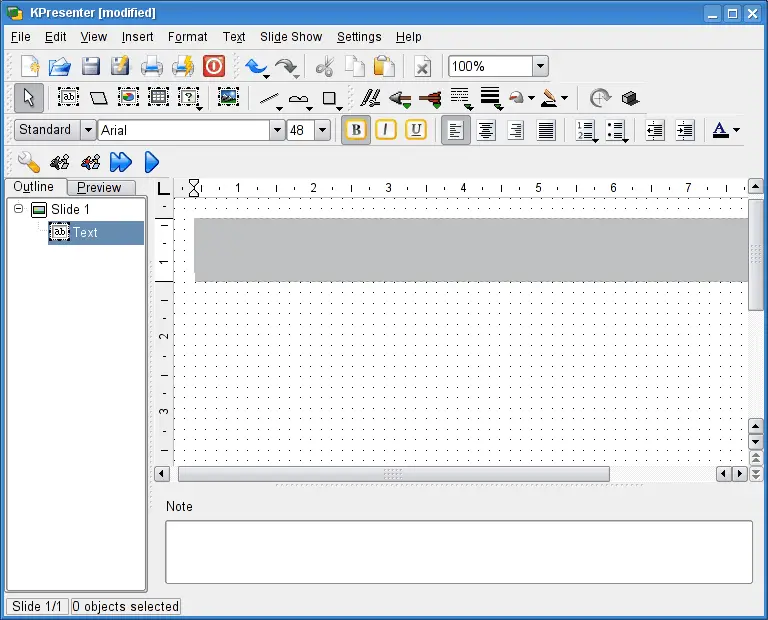
Double-click the text box. The cursor changes to a vertical bar to show that you can now type some text and the background of the edited area becomes grey.


The text insertion cursor

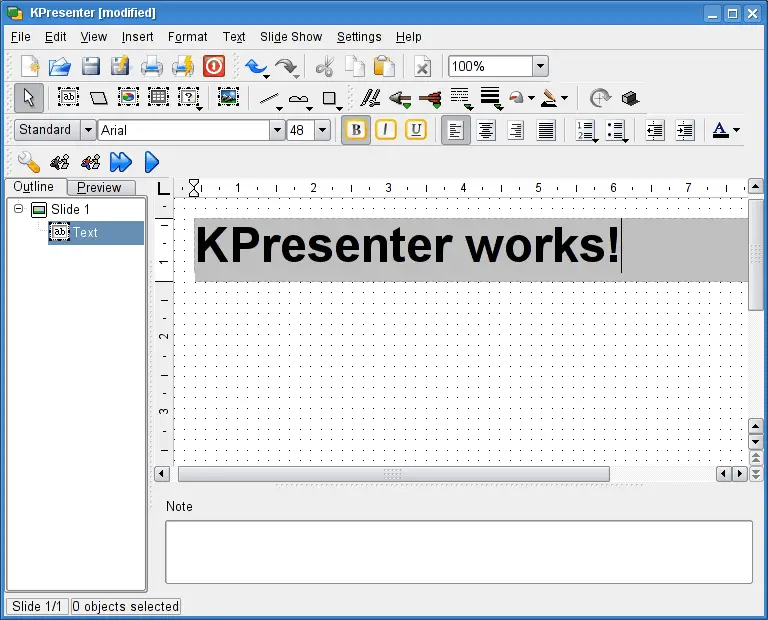
Go ahead, type some text!


Adding text

Click away from the text to de-select the text box when you are done typing.


  Published under the terms of the GNU General Public License Design by Interspire