Manipulating the Toolbars
In addition to the menus, KPresenter also has a set of toolbars. Each
toolbar consists of a collection of icons. A toolbar icon often presents
a convenient shortcut to a command that is found in one of the menus.
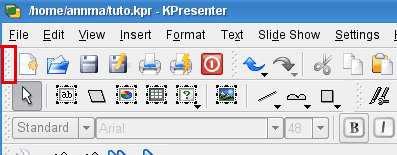
You can move the toolbar around by dragging the handle, shown here in red. Toolbars can
be “docked” or attached to any side of the KPresenter
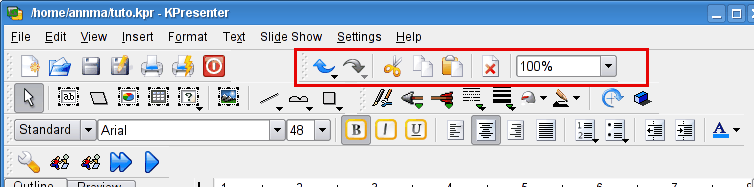
window. If you like, you can also have the toolbar “float” in
its own window, separated from the main KPresenter window as shown in the
screenshot below:
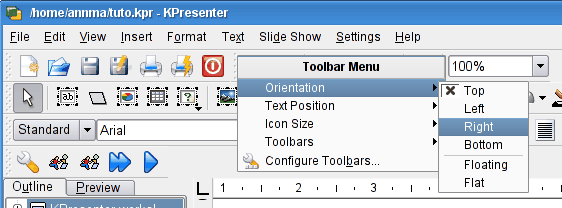
If you don't like dragging toolbars around,
right click on the handle and a menu pops up as shown
in the screenshot below:
The first few items in the popup menu have to do with the placement of
the toolbar. You can choose any of the four sides of the KPresenter
window, or have the toolbar “float” in a separate
window. Choosing
hides the toolbar.
To unflat a hidden toolbar, left mouse button click on its handle.
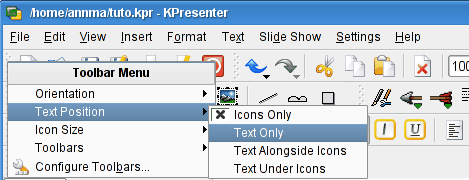
Choosing the next item in the menu,
, leads
to an additional menu which lets you control the appearance of the items
in toolbar. This additional cascading menu is shown in the screenshot
below:
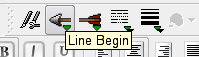
The default view of the toolbar is icons only. In this view, if you
don't know what a particular icon means, you can hold the mouse over the
icon, and after a second or so, a little hint pops up in a highlighted
text box as shown in the screenshot below:
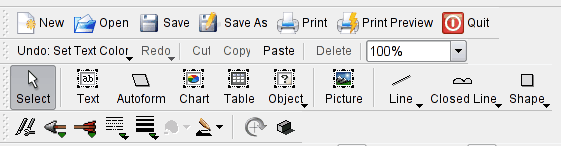
You can choose to display the toolbar items as text instead of icons, or
even to combine both icons and text. If you want both text and icons,
the cascading menu allows you to select whether the text appears beside
the icons or below them. All four styles of displaying toolbar items are
shown in the screenshot below:
The KPresenter menus are discussed in the following sections.