-
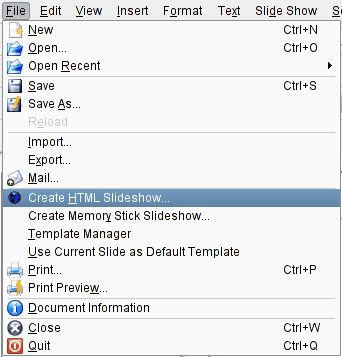
First, either make a new presentation, or open an existing one. Then,
click on
-
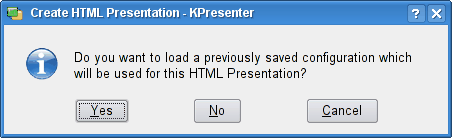
A dialog box asks if you want to use a previously saved
configuration:
Click
No
if this is the first time that you have
used this feature, or if you want to alter specific options. The
Yes
option allows you to use details that you have
previously entered for your HTML slideshow, so that you can
quickly create the slideshow without needing to adjust the options.
-
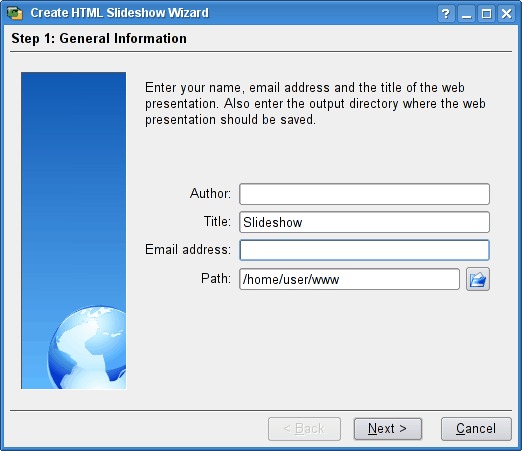
You will then get a dialog box asking for a few details:
Fill in each field (the dialog takes the informations from KControl if they exist) and ensure that the path details are correct, as this
is where KPresenter will save your new HTML files
and pictures. Click on the
Next
when you are
done.
If the path you select at this stage does not exist, KPresenter will
ask if you would like to create it.
-
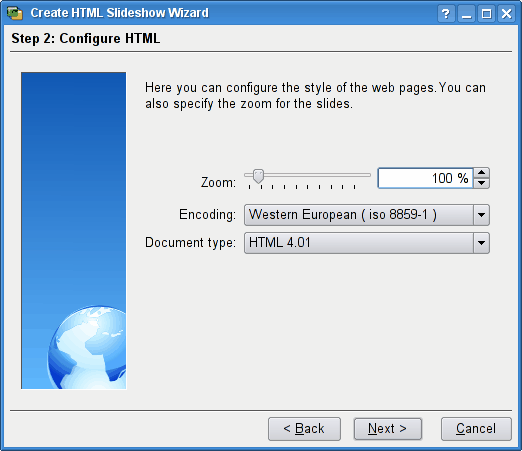
Now you can configure the specific HTML options:
Here, the encoding and format details can be changed, along with
the zoom level of the slides. For example, if you originally designed your
slides to display full screen on a 1280 x 1024 resolution screen, you could
scale the slides to 50% to enable them to be easily viewed in a much smaller web
browser window.
In most cases, the defaults will be fine, and you can safely press the
Next
to continue to the next page.
-
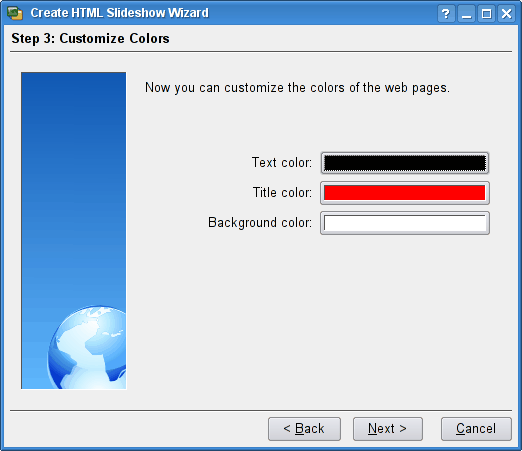
Now you can customize the colors of the web pages:
When KPresenter creates the web pages for you, the text colors
for the navigation aids will follow whatever you set here. To change any of
these colors, click the colored bar next to the corresponding text label. The
colors used in your actual slides will be unchanged.
Tip
Choose colors that are complementary to the contents of your
presentation.
-
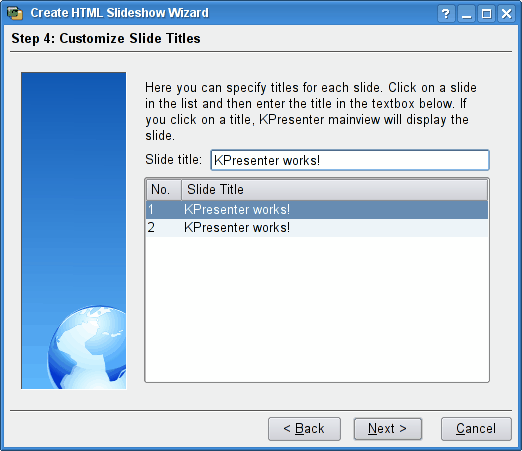
The
Next
button presents a dialog box
that allows you to change the name used on the HTML page for
each slide:
-
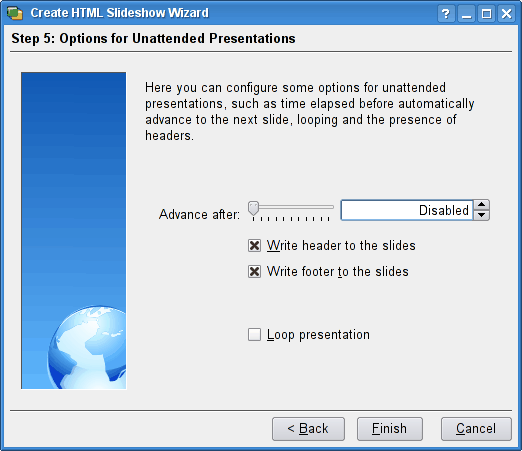
If your presentation was intended to be displayed in an unattended manner
(i.e. automatic advance to next slide, etc.), you can also make your
HTML
presentation counterpart exhibit the same behavior:
Here, you can force the slide to advance to the next after a specified
amount of time, and also make the presentation return to the start once it
reaches the end.
-
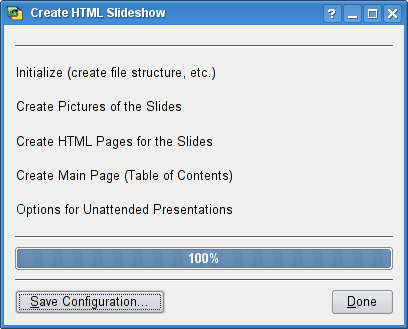
Now it is time to actually produce your HTML
presentation, the progress of
which is shown in this dialog box:
Finally, you can save the configuration you have just used before you
close the dialog box by pressing the
Save
Configuration...
button.
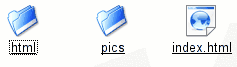
-
What we now have are the newly-produced html/
and pics/ folders,
created where we earlier set the path: