7.2.
Thunderbird
This section briefly covers the basic steps for sending and
receiving email with Thunderbird. For
more information about using Thunderbird, the Help
contents are located under Help on the main
menu.
To start Thunderbird, select
=> => .
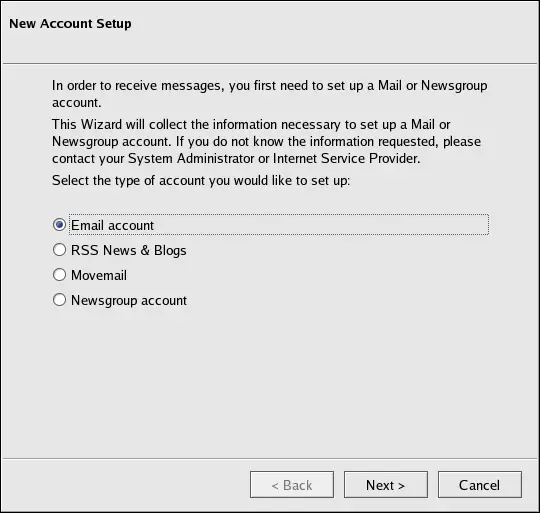
You are presented with a New Account
Setup screen. You are first asked whether you would like to
import information from other email programs. Make your selection
and click on the Next >> button. On
the next screen, select Email account,
which allows you to configure your email connection. Follow the
on-screen instructions and fill in the information you collected
from your ISP or administrator in the text boxes provided.
To create a new email message, click the Write button. A blank message will open in a new
window. Enter the address(es) of the recipient(s) of your email in
the To field(s). Enter the subject of your
email in the Subject field. In the large
bottom pane, enter the text of your email. You can spell check your
email by clicking on the Spell icon or by
pressing [Ctrl] -[Shift] -[K] . You can
attach files by clicking on the Attach icon,
or by going to => => .
Finally, when you are finihsed with your email, click the Send icon. The email window closes and returns you to
the main screen.
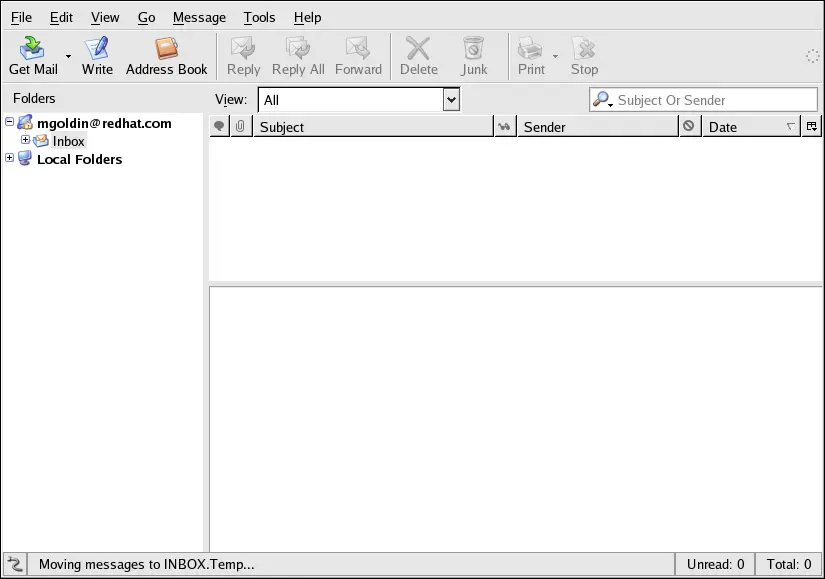
To read email, click on the Get Mail icon
to check for new mail. Click on the folders in the left sidebar to
open them. If there are any messsages in that folder, they appear
as a list in the top-right pane of the window. As you click on each
email in the list, a preview of its contents appears in the pane
directly below. If there are any attachments to your email, a field
labelled Attachments lists the names of the
files. Double-click the file name to open or save the file.
Once you read a message, you can delete it, save it to a
separate folder, and more.
7.2.1.
Thunderbird and Newsgroups
Newsgroups are Internet discussion groups with specific topics.
The discussions are in threaded format (which means all topics and
responses to the topic are sorted and organized for convenient
reading) and subscribing to a group is easy. You are not required
to post messages; instead, you can just lurk, which is a Newsgroup term for reading without
posting messages. There are a great many newsgroups on the Web with
topics ranging from politics to computer games to random strange
thoughts. You can even post and download pictures and files to
Newsgroups (although your ISP may restrict Newsgroups to text-based
postings only).
To join a newsgroup, you first need to set up a newsgroup
account. Click on your mail account name in the sidebar and select
Create a new account from the options that
appear on the right of the screen. The New
Account Setup screen appears again. Select Newsgroup account and then click Next.
Enter your name and email address in the blank fields and click
Next. On the following screen, enter the
name of your news server (if you do not know the name of your news
server, contact your Internet service provider or network
administrator for this information). On the last few screens, you
can determine the name of this account and review your
settings.
The newsgroup account you created appears in the sidebar of the
Thunderbird mail screen. Right-click on
this account name and select Subscribe. A
dialog box appears, listing all the newsgroups available. Select
the groups you are interested in reading and click Subscribe. When you are done, click on OK.
Double-click on the newsgroup account name and the list of
groups you are subscribed to appears beneath. Select the newsgroup
you want to access and a dialog box appears with information about
downloading and reading existing messages. Posting to a newsgroup
is just like writing an email, except that the newsgroup name
appears in the To field rather than an
email address. To unsubscribe from a newsgroup, right-click on the
group name and select Unsubscribe.